
 |
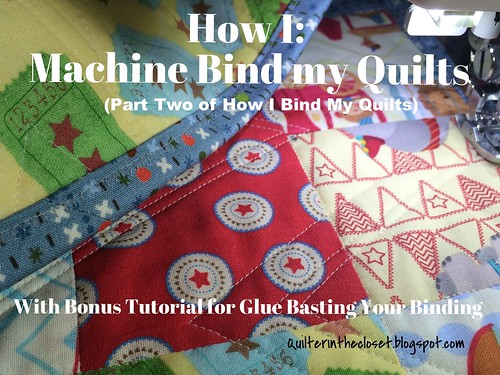
| Quilter in the Closet Quilt Tutorial: How to Machine Bind a Quilt |
Part One covered:
- Attaching your binding to your quilted quilt (side 1)
- Joining the tails of your binding
- How to use the Binding Tool by TQM Products
- How to trim and square up your quilt
Part Two will cover:
- Attaching your binding to the quilt using your machine (side 2, or the back in the method I use)
- Using glue to baste your binding to the quilt
In Part Two you will need:
- your quilt with the binding attached to the front
- Walking foot (highly recommended, but some people manage with a regular one)
- an iron
- good 'ole washable school glue
- and of course your sewing machine and thread
Before we begin, you might be wondering what are the benefits of binding by machine? Well, it is definitely faster! I might be the world's slowest hand binder, but I am pretty confident that machine stitching your binding down is faster for everyone. I could spend nearly all day hand binding a baby quilt, but I can machine bind it in under an hour. For a busy mom, or a busy anyone, "time" is a 4 letter word that we all want more of, right? Also, it is more stable than hand stitching. So if you are making a quilt for a baby, or something like placemats that will be washed frequently, consider machine binding. It will last a bit longer.
What are the cons of machine binding? Well, I do think hand binding looks nicer from the back. Even if you line your binding up perfectly, glue it in place, etc. Sometimes things shift a little and it might make your stitching line look a little wild. For me, that wild stitching is on the back of the quilt, so I care a little less. That's just me! Hand stitching your binding is very soothing, so if that is an important consideration for you, than I say go for it. But this tutorial won't cover hand stitching your binding (maybe a future tutorial will).
Let's get started.
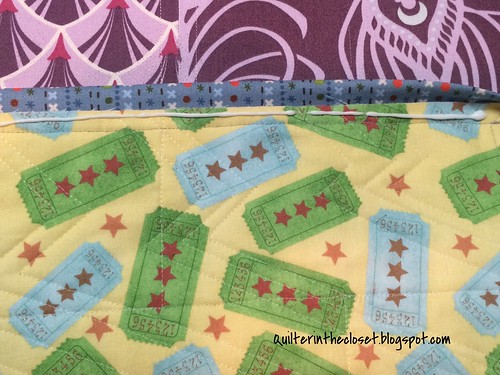
In Part One, we left off with a trimmed quilt top with the binding attached to the front side.
 |
| Quilter in the Closet Quilt Tutorial: How to Machine Bind a Quilt |
 |
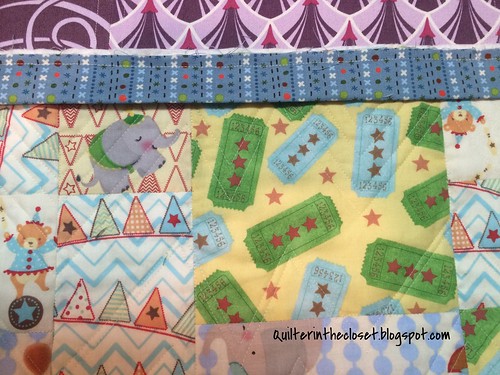
| Quilter in the Closet Quilt Tutorial: Press your binding toward the backside |
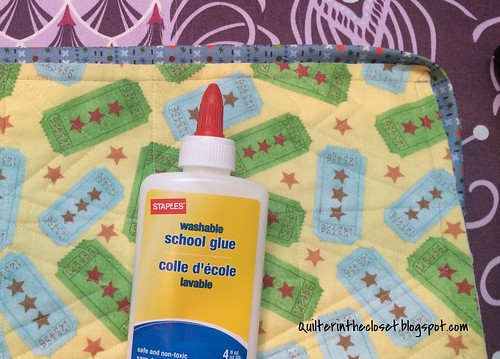 |
| Quilter in the Closet Quilt Tutorial: Get out your washable school glue |
Flip your quilt over so the back side is up. I like to work from the right side of one edge toward the left, but it really doesn't matter.
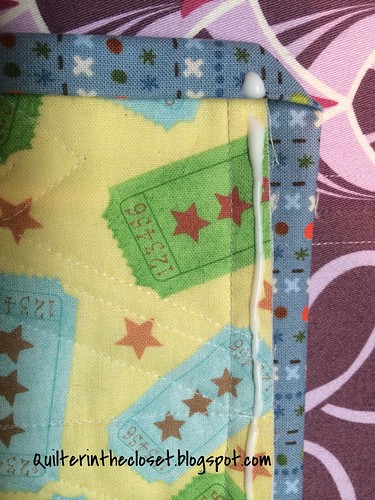
Put a thin line of glue on the quilt, in the seam allowance.
 |
| Quilter in the Closet Quilt Tutorial: add a thin line of glue to the seam allowance |
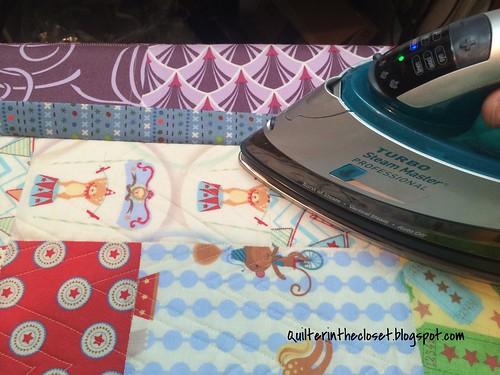
Then fold over your binding, making sure to cover the line of stitches created from sewing your binding to the front side. Press with the iron to dry the glue.
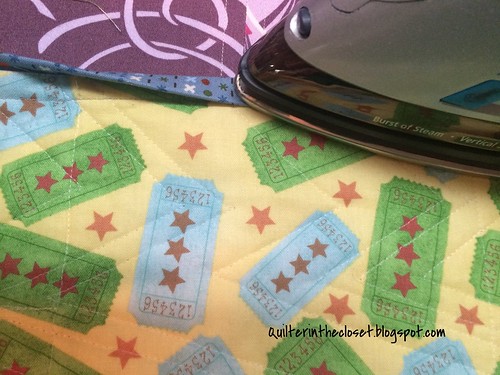 |
| Quilter in the Closet Quilt Tutorial: iron the binding in place to dry the glue |
When I get to the corner, I like to test out with my fingers which way is most natural for the miter to go, meaning which side likes to be folded down first. You would be surprised that it is not always the same way.
In this case, the side that I am gluing wants to be on top instead of on the bottom, so I'll just leave it for when I come around that corner. I don't need to fight my binding, I go with the flow!
 |
| Quilter in the Closet Quilt Tutorial: Corners |
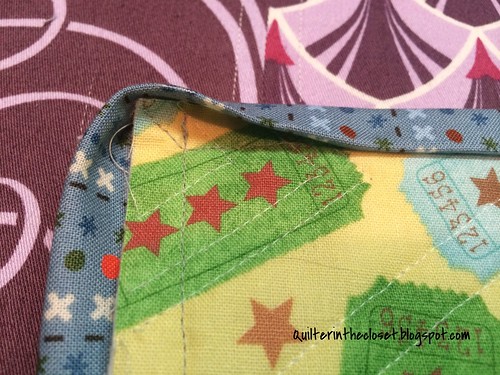
Once you figure out which side wants to lay down first, glue it there. Doing so will make a little 45 degree fold at the end of the edge. Then add glue to the next side of binding (the one that wanted to be on top). I even put a little drop of glue right on the binding in the corner so that when I fold down the new side it sticks to the previous one.
 |
| Quilter in the Closet Quilt Tutorial: apply glue to the corners and fold |
Fold the binding over on to the line of glue.
 |
| Quilter in the Closet Quilt Tutorial: a perfect mitered corner |
Continue all the way around the quilt, gluing and pressing until all the binding is glue basted in place. Remember to cover the stitching lines where you attached the binding to the front of the quilt.
You might be wondering what happens if you get a little glue on your iron. It is not a big deal. Cool your iron, and use a damp paper towel to wipe off any residue. It is washable glue, so it will dissolve with a little water. Easy peasy!
Now take your quilt over to your machine.
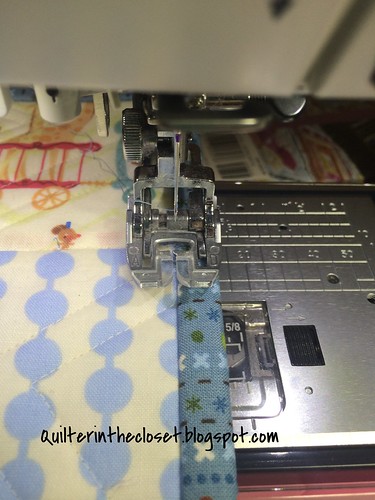 |
| Quilter in the Closet Quilt Tutorial: time to Stitch in the Ditch |
From the FRONT of the quilt, I stitch right in the ditch between the top and the binding.
This is a great time to try out some of those decorative stitches your machine may have (see pictures at the end of the tutorial).
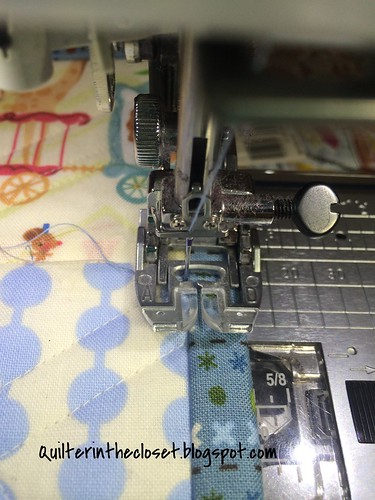 |
| Quilter in the Closet Quilt Tutorial: adjust your quilt for the needle position if needed |
Just remember to adjust your quilt over a bit so that all but the left edge of the stitch ends up in the binding and no farther into your quilt than the ditch area. This is easier to show than explain, so check out the pictures at the end of this tutorial and notice how all the stitching is in the binding.
It doesn't really matter where I start my stitching along one side, but I do backstitch a stitch or two to secure my start.
 |
| Quilter in the Closet Quilt Tutorial: guide the binding with your fingers |
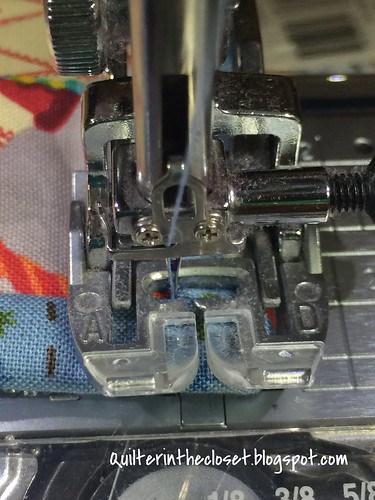
I like to place my fingers under the quilt to guide it toward the walking foot. This just helps prevent any random puckers that might be created from areas that didn't get glued properly.
 |
| Quilter in the Closet Quilt Tutorial: check the back from time to time |
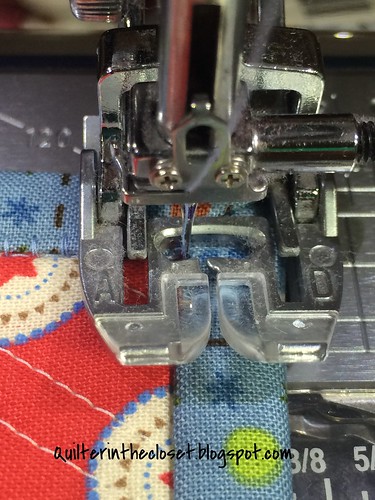
Periodically, I like to double check the back of the binding to be sure that the stitching has caught the binding. On the quilt in this tutorial, I used a blanket stitch, which stitches in a straight line in the ditch and jumps over a stitch or two into the binding, making it more likely to catch the binding on the back even if it has shifted or wasn't glued in place.
 |
| Quilter in the Closet Quilt Tutorial: stitch all the way to corner, then pivot |
 |
| Quilter in the Closet Quilt Tutorial: once you pivot, continue on down the new side |
 |
| Quilter in the Closet Quilt Tutorial: the backside of the mitered corner |
Continue stitching all the way around the quilt until you reach your first few stitches. I like to stitch over a few of the initial stitches, then backstitch to secure my end, cut or bury your threads.
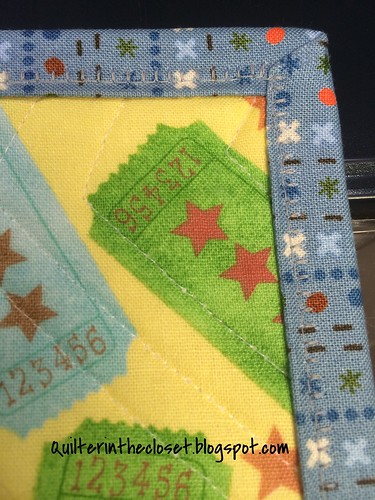
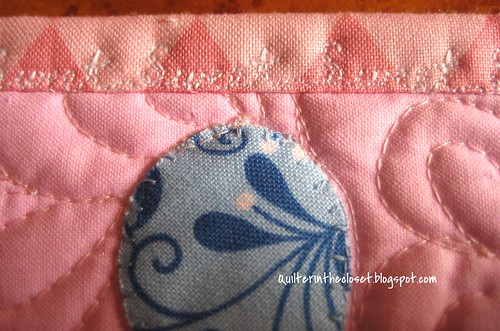
Here are some pics of some of the fun stitches I have tried out on my bindings (though the blanket stitch is by far my favorite).
 |
| Quilter in the Closet Quilt Tutorial: using decorative stitches for your binding |
 |
| Quilter in the Closet Quilt Tutorial: using decorative stitches for your binding |
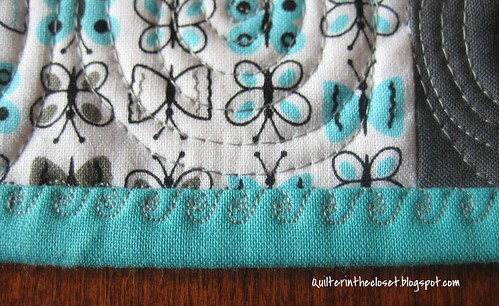 |
| Quilter in the Closet Quilt Tutorial: using decorative stitches for your binding |
Have you tried machine binding or do you only bind by hand? How do you do it? Have you tried out any decorative stitches; which are your favorites? Link up your tutorials here (on this or any other quilting subject).

Rules:
1) NO QUILT POLICE ALLOWED! - if you are making a tutorial, keep it friendly, as if you were teaching your best friend. If you are visiting a tutorial, please remember that the authors are simply sharing what they have found to work for them.
2) Please link up tutorials from 2014 only. Feel free to point out any previous tutorial in your new post, but let's try to keep the links current.
3) Visit other linky participants to see how they do it.
4) Did I mention no quilt police allowed?
Thanks for joining me today!
Jen
I usually bind by hand as I actually enjoy that last bit of the process, but your spiral stitch binding looks so great I think that I will have to give it a go!
ReplyDeleteExcellent tutorial!
ReplyDeleteThe glue is new to me! I read somewhere not to press the binding as the final fold isn't when you would press it (the outer half has slightly further to go than the inner half, a bit like the runner on the inside track starts further back on a. 400m race round a curved track?). Also I try and fold the mitre opposite to the way the front fold went, to reduce the lump. Always good to know other people's method, and thanks for the reminder of using pretty stitches, it's years since I've done that x
ReplyDeleteVery clever to use decorative stitches, I have never thought of that and now I must try it!
ReplyDelete