

I've been making a lot of binding lately, so I thought I would snap a few pics while I did it and share it with you.
First things first. I use the same cotton fabric I have used in my quilt. Color and print are up to you and definitely a personal choice.
How much binding do you need?
You will need enough binding to go around the entire perimeter of your quilt plus about 10 inches (for mitering and joining the strips). So if your quilt is 70 inches by 75 inches, you will need 300 inches of binding. How did I get that? 70 + 70 + 75 + 75 + 10 = 300.
How wide should I cut my binding?
There are a couple of things to consider.
- How thick is the batting you are going to use? - I have low loft batting, but sometimes I like to double it up. In that case, I would want to be sure that my binding will be wide enough to cover the extra thickness of the batting, so I would use 2.5 inch binding. I would assume the same would be true if I was using a thick backing fabric. If I am making a quilt with just one layer of batting, I might opt for 2.25 inch wide binding.
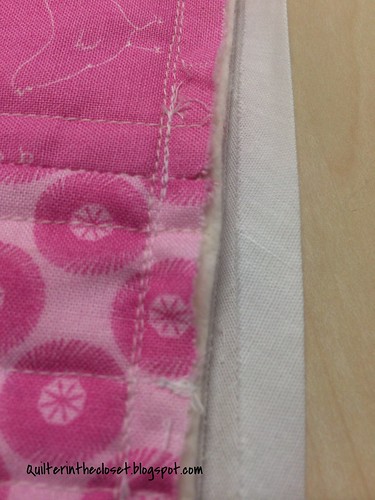
- Do you mind if the binding showing on the back is slightly wider than what is showing on the front? This really doesn't bother me, but some people are pickier than others.
- Also, are you planning on attaching your binding completely by machine (meaning both sides) or hand stitching the final side? If I am going to use the machine to sew down both sides of the binding, I like to have a little extra width to make sure I am going to catch the fabric on the backside (This will make more sense when I show you my machine binding tutorial coming soon, or check out my old tutorial HERE to get the idea). I would definitely want a 2.5 inch width for sure. If I am hand sewing the binding down, I can maneuver the binding with my fingers to cover any stitching lines, etc., so I don't really need any extra width and 2.25 inches would be plenty.
So, how much fabric do I need?
If you use my example above of 300 inches of total binding needed, and assume that your width of fabric (WOF) is 42 inches. Divide 300 by 42 to find out how many strips you need. 300/42 = 7.14. So round UP to 8 strips, then multiply by the width you have chosen. 8 x 2.5 inches = 20 inches of fabric needed. If you want your binding at 2.25 inches, you would only need 18 inches.
OK, so now you know how much binding you will need, and how much fabric you will need to make it. So let's get to the making part already!
Step One:
Cut your strips in the width you have chosen.
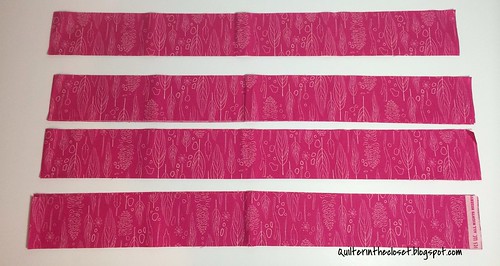
Trim off the selvages too.
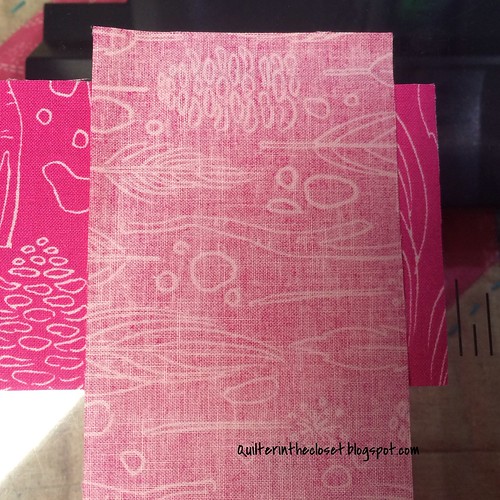
Step Two:
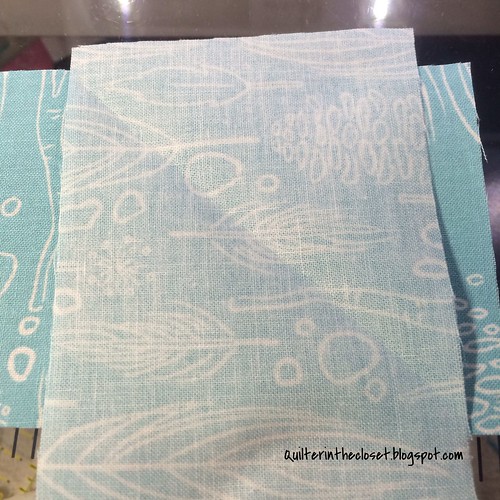
Take the end of one strip and lay it horizontally in front of you, right side up. Then the end of another strip and lay it vertically, right side down, crossing the first strip.
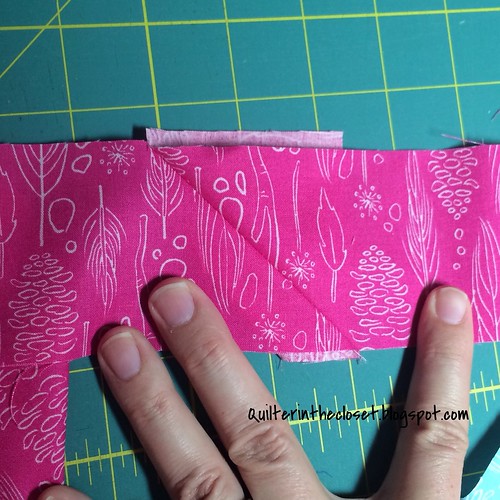
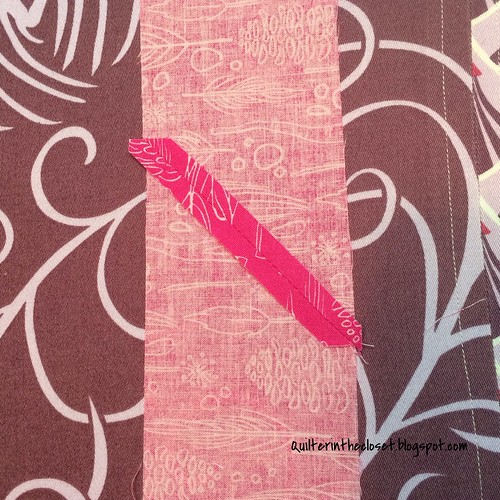
Step Three (Optional):
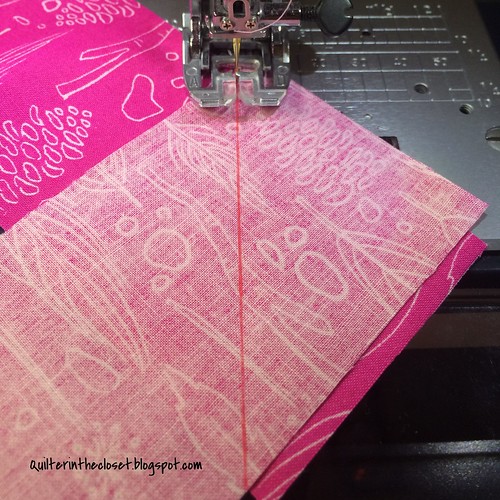
I like to mark my sew line at this point. I do this by lining up the 45 degree line of my small ruler along the left side of the vertically oriented binding piece and then drawing a line along the side of my ruler. I use a Pilot Frixion pen for this, because it just irons right out. In theory, you could use any marking utensil that you don't mind staying in your quilt. Since it is on the wrong side, and on the sew line, you will never see it. I don't recommend a Sharpie.
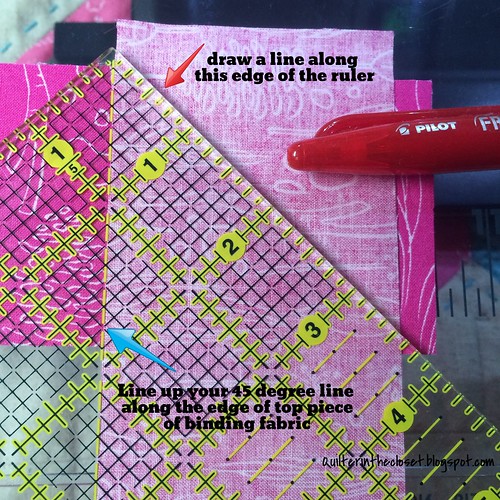
Now I align my line with the edges of the horizontal binding piece on the bottom.

Don't want to mark? Alternatively, you could finger press a 45 degree line in your fabric.
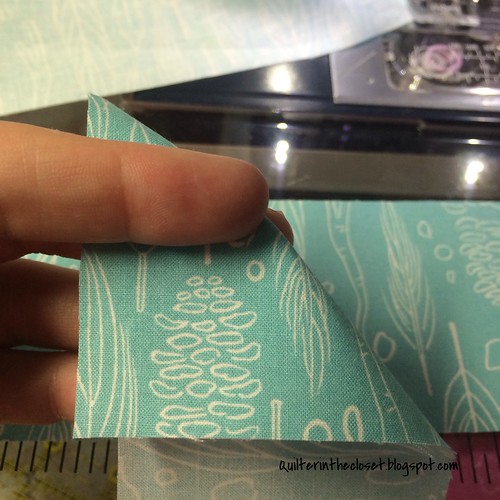
But I have a hard time seeing it when I go to actually sew it, so I usually stick to marking it. It only takes a second.
Step Four:
Now sew along that line.
Step Five:
Let's get ready to add the next piece! Using the 2nd end of the strip that was just on top (the one that was vertical in front of you), flip the end over to be horizontal and right side up in front of you. Guess what? That is now your bottom strip.
Now grab a new strip and place it vertically, right sides down in front of you, and repeat steps two through five until you are all out of strips. You can just chain piece them until you are done.
We aren't done yet though!
Step Six:
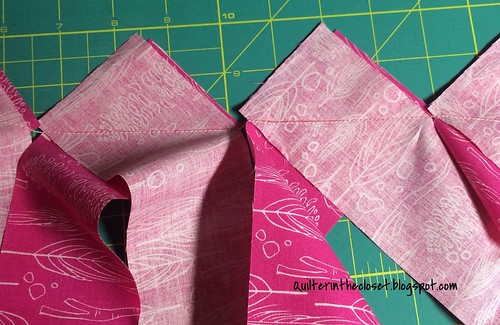
Before we complete this step. I like to open up my seams just to make sure they are lined up. Better to know now than later.
Using my ruler, I trim off the ends at a 1/4 inch from the stitching.
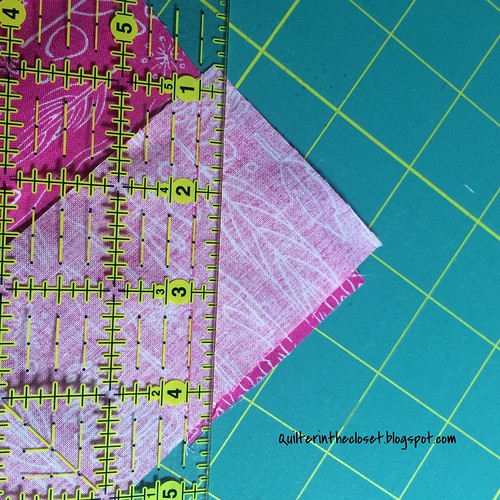
Make sure you trim the right side of the stitching!
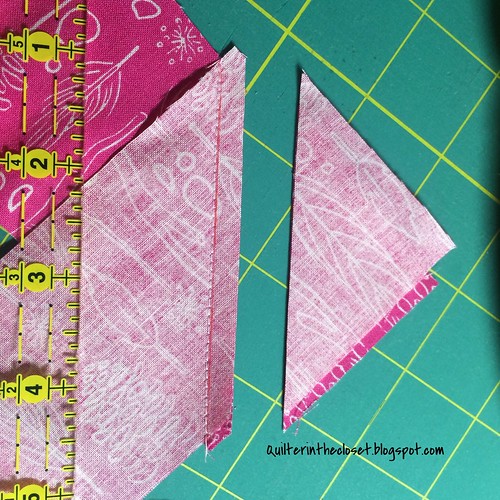
WAIT, wait, wait! What if my strips aren't lined up perfectly?
This is a judgement call. If I am off more than 1/8 of an inch, I usually re-sew, but less than 1/8......repeat after me, "It's just binding". After all, it will be folded and stitched down 1/4 of an inch from the edge. It will be OK.
Step Seven:
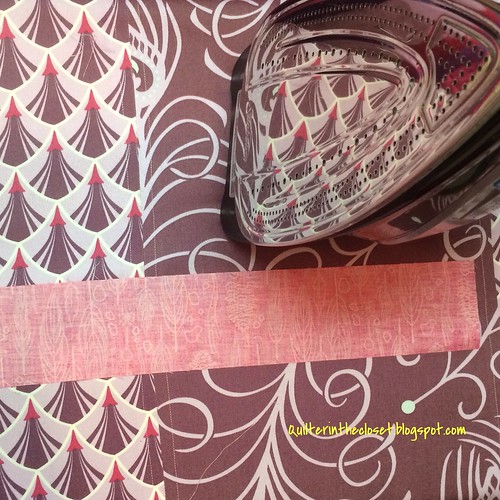
Let's move over to the iron now. Press your seams open.
Why open? It will distribute the bulk of the seam in a more tidy way. If you had just sewn straight seams (instead of the 45 degree angled ones), you would have all the bulk of the seam in one place along the edge of your quilt, and you will be folding it over on itself, twice. It would feel like a big lump anywhere you have a seam.
Step Eight:
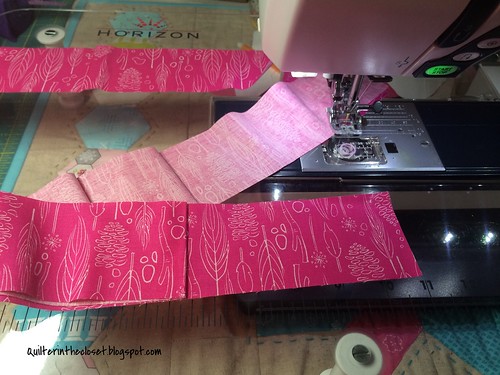
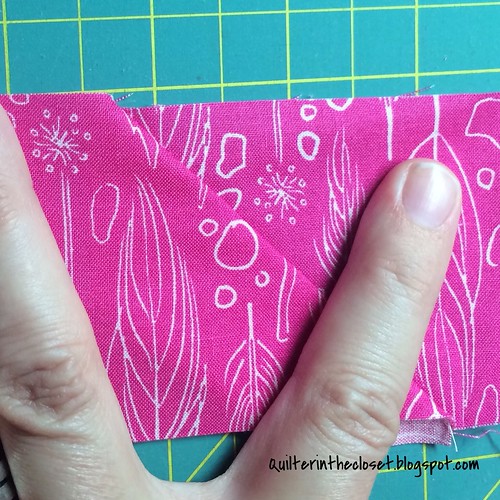
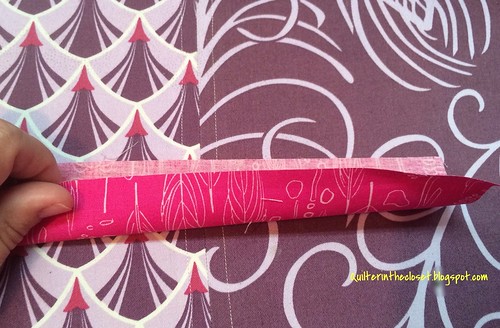
Now we need to get in the first fold of our "double fold". Start at the end of your new super long continuous piece of binding strip.
Now simply fold your fabric so the long sides meet, right sides out!
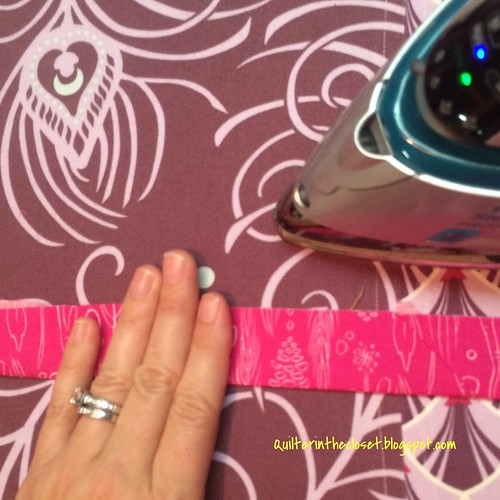
And now let's press that fold with your hot iron. (It does work better with a hot iron! Ask me how I noticed this to be true.)
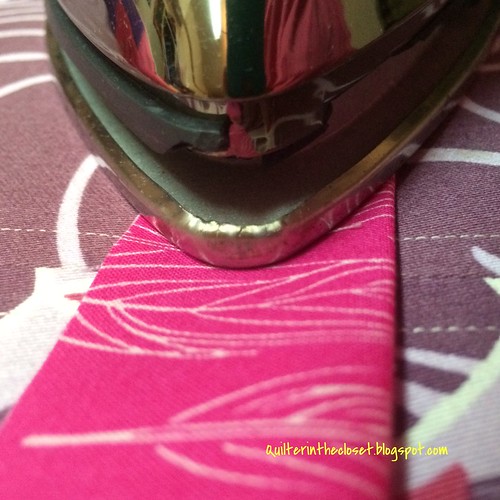
I like to use my left hand to match the edges and smooth the fabric while my right hand irons the fold. Yes, I said "iron". I like to move my iron along the fabric instead of lifting it up and down and "pressing" it. That's just me. Remember, "It's just binding."
Continue folding and pressing/ironing until the whole long strip is complete.
Now what?
Step Nine:
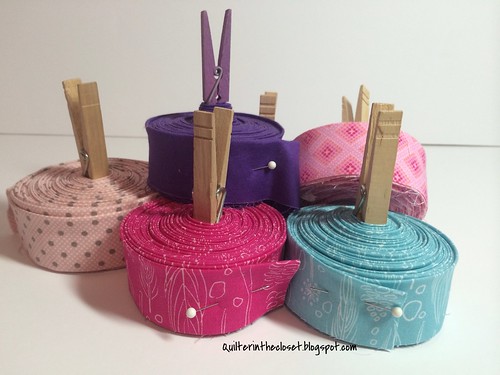
Well, you could leave your binding as is, drape it over a chair and wait until you are ready to attach it to your quilt. Or, you could roll it up and keep it tidy until you are ready.
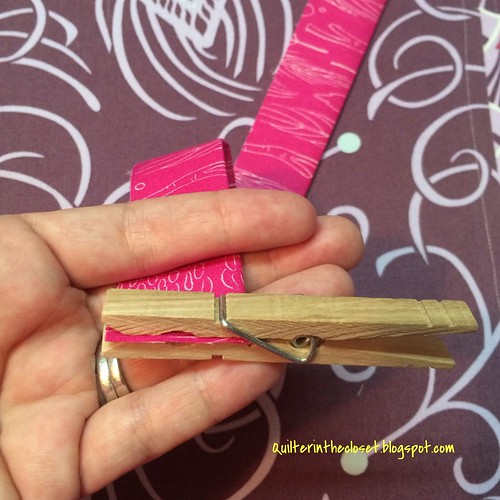
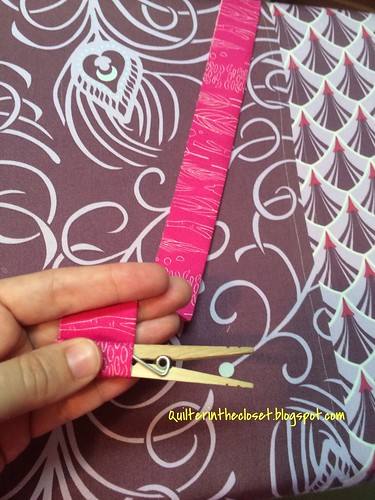
I like to use a clothes pin for this step. I clip the clothes pin to the end of the folded binding strip.
Then I hold the other end of the clothes pin and rotate my wrist, winding the binding on. (It was impossible for me to take a picture of myself doing this. I don't have a 3rd hand. Gosh wouldn't that be "handy" sometimes?)
When I am done winding, I just stick a pin in it and put it aside until I'm ready to attach it.
Step Ten:
Attach your binding. Oh, that will have to wait until another tutorial.
****A quick note about packaged binding. I recently tried out the packaged binding from the fabric store, and I was not impressed. Even though it says "Extra Wide, Double Fold", it was only 2 inches wide and the fold is not in the same place.
If you have ever made a strap for something, it is folded similarly. If you use this type of binding, you aren't getting a double thickness on the edge of your quilt where it will get the most wear and tear. It is only a single thickness there, so it will wear faster than the double fold binding I made above. I was also not impressed with the feel of the fabric. It was a bit rough feeling - not something I would want to use on a quilt to be cuddled. But hey, that's just me.
So that's how I make straight-grain binding. How do you do it? Link up your tutorials here (on this or any other quilting subject).

Rules:
1) NO QUILT POLICE ALLOWED! - if you are making a tutorial, keep it friendly, as if you were teaching your best friend. If you are visiting a tutorial, please remember that the authors are simply sharing what they have found to work for them.
2) Please link up tutorial from 2014 only. Feel free to point out any previous tutorial in your new post, but let's try to keep the links current.
3) Visit other linky participants to see how they do it.
4) Did I mention no quilt police allowed?
Thanks for joining me today!
Jen
Nice tute. This is how I make binding too but I've never used the clothes pegs. I love them! In future, my binding will be pegged :)
ReplyDeleteIt's how I do it too Jen complete with the reminders that it is "just binding" :) Haven't tried the clothes pegs though, will need to give them a go!
ReplyDeleteMe too! Same way and love the clothes pin tip! Will be trying that one out!
ReplyDeleteGreat tutorial!! I like the idea to use a clothes pin!! I learned from another quilter to iron open the connecting seams at the end of Step 6 and not after cutting them after step 7... A bigger piece f fabric is much easier to iron too! Thanks again!!!
ReplyDeleteHi Jen - brilliant instructions: I refer to it as continuous non bias - but straight grain sounds much better! I do a few things differently:
ReplyDeleteSelvedge- I cut mine off earlier as I'm using 5" selvedge strips in a quilt top
Ironing - I don't ! Someone once told me that the outer edge travels further around the quilt so it's better to let it find it's own fold, I haven't explained it well but I was happy not to iron and have never had problems
Clothes peg - brilliant idea, I roll mine (unfolded) and safety pin it, but I'll be using your method from now!!!!
Thanks for the tutorial, this is how I make mine also, it is great to have a tutorial handy because I always like to check before I start cutting, I kind of forget from one time to the next!.
ReplyDeleteNice tut. I do it exactly the same way except the winding. I usually use it right away :-)
ReplyDeleteThank you for the great tutorial!! I love the clothespin idea!
ReplyDelete-Soma
Congratulations, very clever tutorial!
ReplyDelete