Happy Monday and welcome to my stop on the "Around the World Blog Hop". Have you heard of this fun blog hop? It's been going around for a while now, but I am pleased to see that it is still turning the globe, and has recently had some rock star participants, like
Elizabeth Dackson of Don't Call Me Betsy,
Lee Monroe at May Chappel, and
Jen Kingwell of Jen Kingwell Designs. I was invited by the lovely and talented
Ginny of Fishcreek Studio who I was pleased to read more about last week.
The purpose of this blog hop is two-fold. First, you get to learn a little more about me while I answer some questions, and secondly, I'm a sending you all along to a couple more friends so you can learn more about them too.
All about me:
This part reminds me of how my kids usually have to fill out an "All About Me" poster at the beginning of each school year.....
Hi, my name is Jen. I grew up in Florida, but now I live in beautiful Redondo Beach, California. I think my time in college was the only time in my life I've lived farther than 1/2 mile from salt water.
I am the mom of three crazy little girls.
I say "crazy", but what I really mean is very active. People are always telling me how lucky I am to have girls because boys are rough and tumble and very loud. All three of my girls are in gymnastics and think our furniture is some sort of apparatus for their tumbling; they are constantly wrestling with one another; and at least two of them have a volume control issue. So it seems like I have plenty of rough, tumble and loud, with an extra shot of drama in there just for fun.
Most of my day is spent herding these crazy little girls around, or cleaning up after them. So, I try to take advantage of any spare time while they are at school during the week to sew. I find quilting satisfies me in different ways. I enjoy the math and order of it. I appreciate the rhythm of the machine, and the quiet of sewing compared to my life with the girls. I also love the creative process, and that I have something practical to show from it when finished.
One of the questions I find most difficult to answer is about what I like. I seem to like it all! I like both modern and traditional quilts, and even modern traditional ones too. I've even tried my hand at a few art quilts.
I like regular piecing, improvisational piecing, paper piecing, English Paper Piecing, and applique too. I just like trying new things! Anyone have any new techniques they can recommend? I am really excited about learning something new in the classes that I am taking at QuiltCon in February.
I must admit that I tend to primarily machine quilt, and especially like Free-Motion quilting, but I have hand quilted a few things and really enjoyed it also. I am just usually wanting the "finishing" of the quilt to happen a little faster than hand quilting allows.
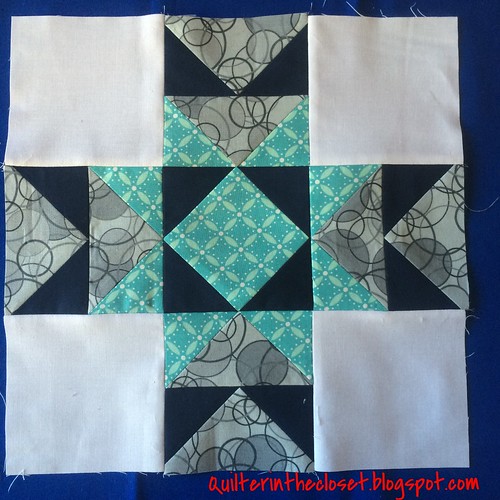
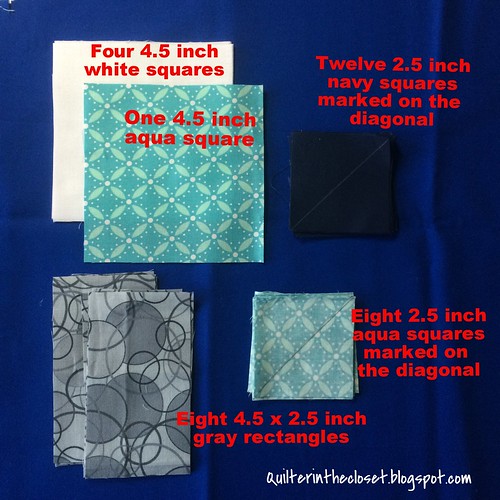
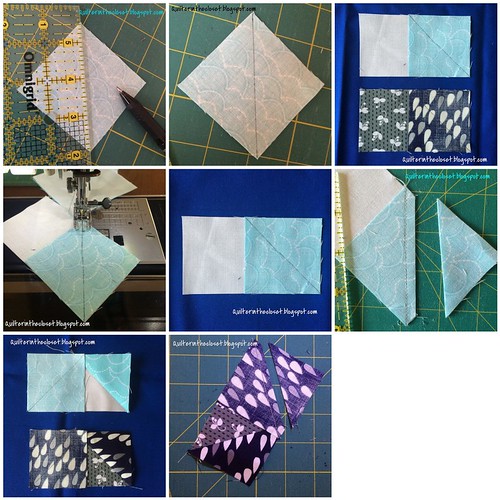
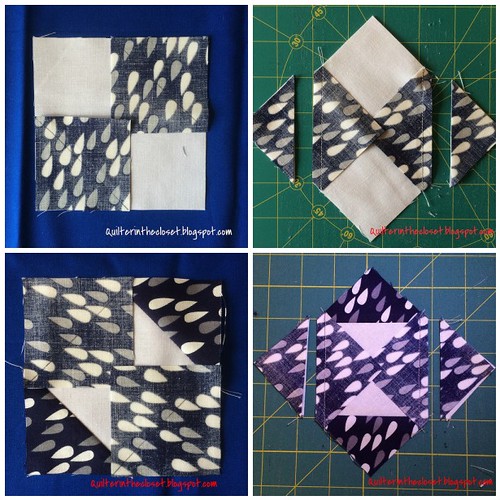
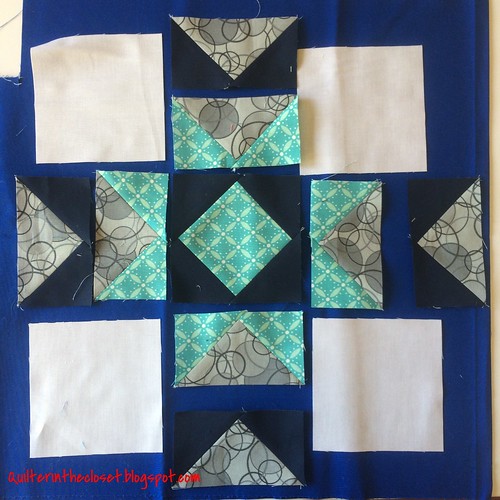
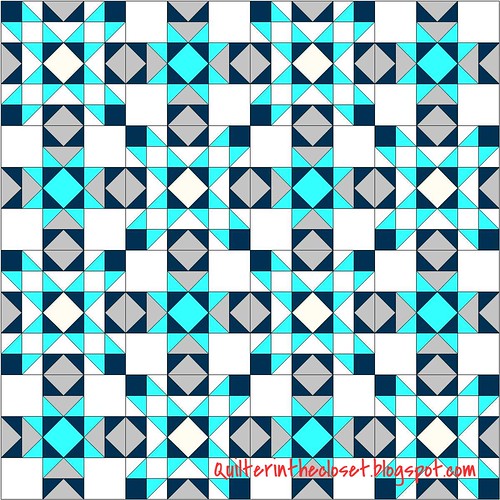
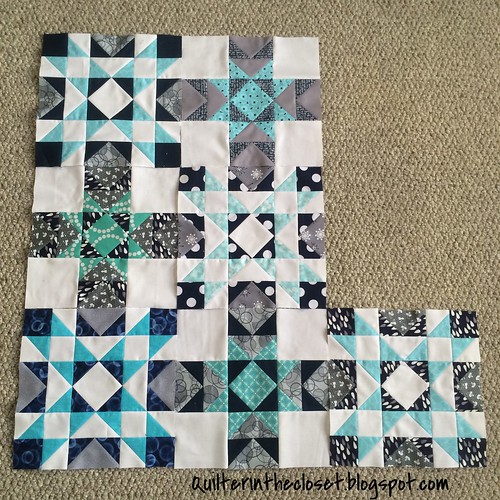
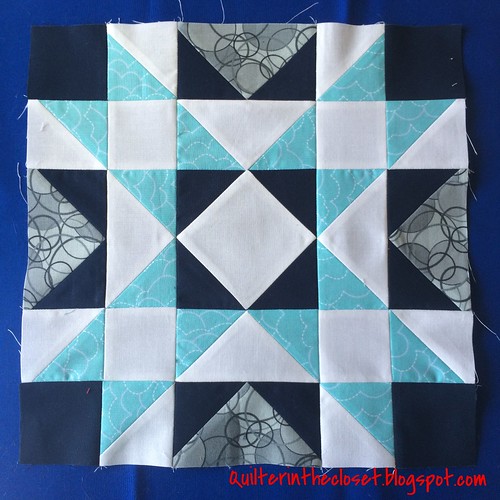
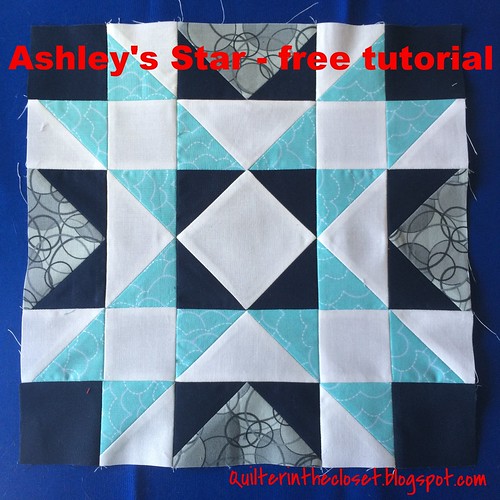
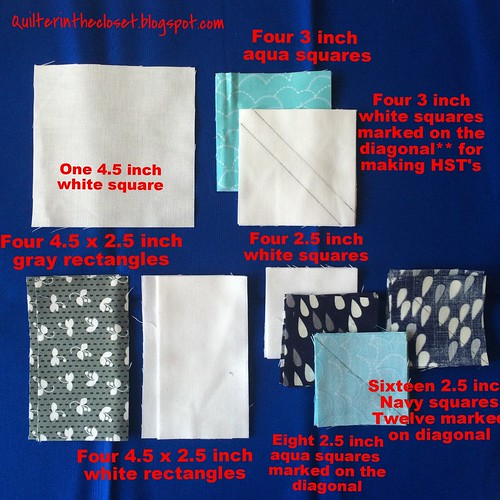
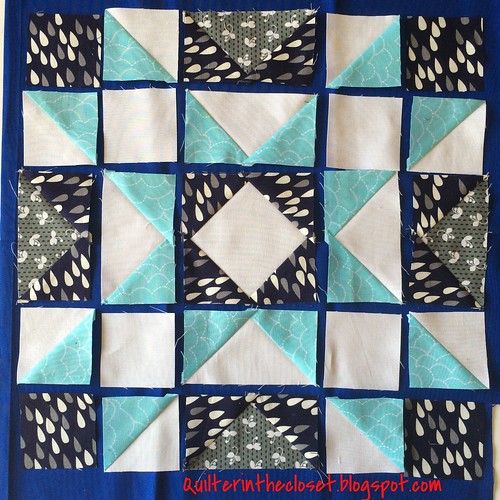
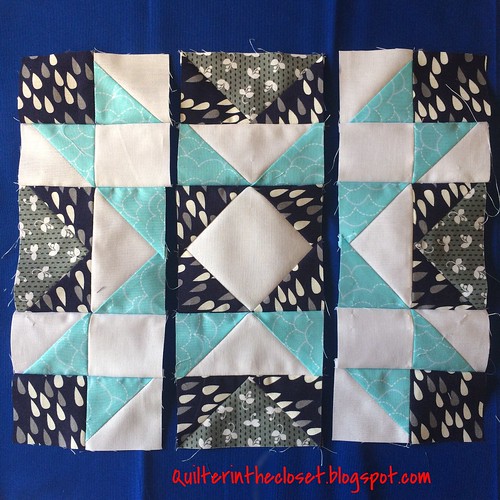
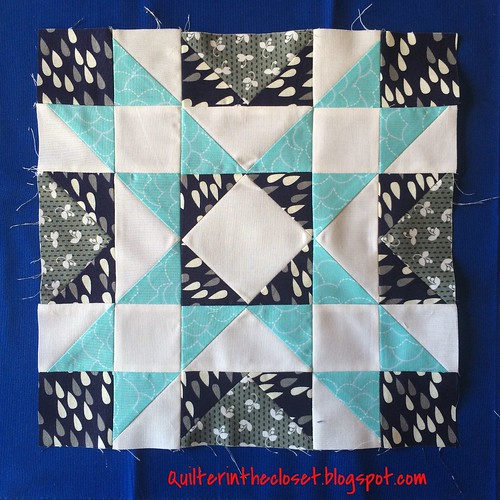
I really can't even pinpoint a favorite type of fabric design or designer. There are simply too many to choose from. I tend to lean more toward modern fabrics and cool colors. My current favorite color combo is aqua, gray and navy blue. I'm working on a quilt using these Ashley Star blocks (
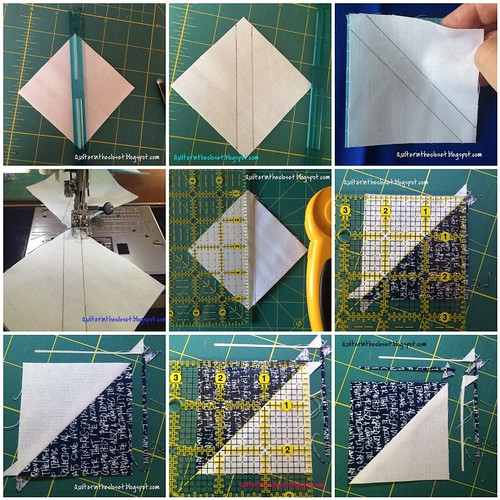
tutorial here) with that combo. I will be sharing the tutorial for the alternate block in the quilt tomorrow's Building Blocks Tuesday, a weekly linky party I host for you to show off the blocks you've been working on.
I am also a fabricaholic. I know many of us say that, but I am a little worried that I could be taking it to an unacceptable level. I actually woke up a few nights ago thinking about how if I need to move my stash quickly, I might not be able to fit all of it in my car. Now, I drive the ultimate Mom-mobile - a Chevy Suburban. One would think I could fit plenty of stuff in there, but I have my doubts that my stash would fit. Certainly not my family AND my stash. Scary! It really is the kind of thought that might wake you up in the middle of the night. It is also one of the reasons I have decided to join the Sew Your Stash 2015 group on Instagram in the New Year. I hope between this group and my Lazy Bum group for finishing UFO's, I might have some fun finishes this year.
2015 also looks like I am going to be the year of swaps and bees. I had such a good time in the Instagram Mini Swap, hosted by @
Curly Boy1, that I quickly signed up for a couple more mini swaps. I am currently working on my
Schnitzel and Boo Mini Swap item due in a few weeks.
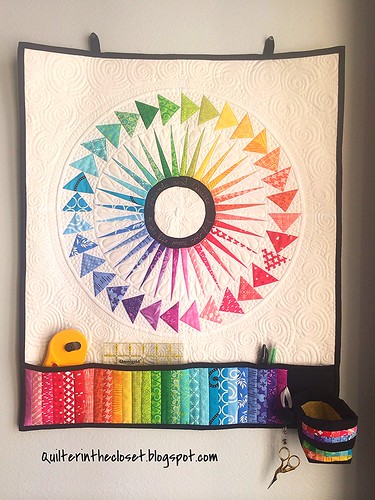
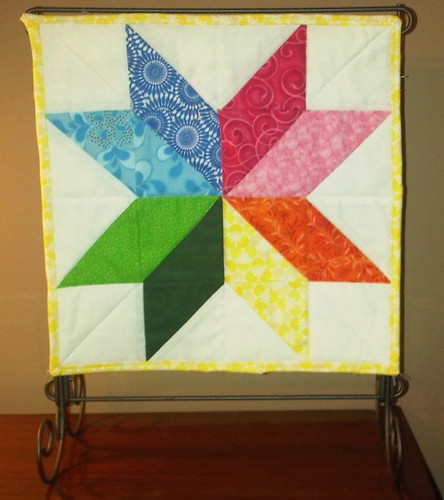
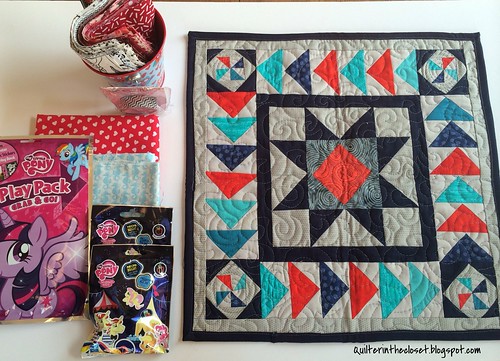
I've also signed up for the Rainbow Mini Swap on Instagram, hosted by @KateBasti. I love rainbow colored quilts, though I don't think I am ready to redecorate my whole home in rainbow colors just yet. The only rainbow mini I've made so far is this one, which I sent off to my brilliant friend,
Benta at Slikstitches.
I'll be making a new rainbow mini coming up soon. Picking a pattern is so hard when so many look great in rainbow colors. I've created
a Pinterest board with ideas for my partners and myself, many of them are rainbow. It seems every day I find more beauties to pin to that board.
I am continuing to hold a spot in the We Bee With it Bee, hosted by Hayley of Mrs. Pickles Garden, and have agreed to participate in a Flying Geese Bee with some ladies from my Lazy Bum UFO group (because some of us like to reward ourselves with new projects when we finish (or think about finishing) one of the old ones).
Oh, and there are a few Quilt Alongs that I am giving a go: the Scrappy Log Cabin Quilt Along on Instagram, hosted by Ginny at Fishcreek Studios and @kakiofhoneyhill, and the Arcadia Quilt Along over at
Sassafras Lane Patterns. I just couldn't resist. We will see how far along I get.
Ok, I think that is enough about me! If you like what you see, I hope you will follow the blog, or my Instagram feed, or on Facebook (all the buttons are at the top of the page), and visit me often. I hope to have more fun stuff to show, and tute (is that the verb of tutorial?) in 2015.
Now onto some of my lovely friends who are going to keep this blog hop spinning around the world.
First up is
Hayley of Mrs. Pickles Garden!
I mentioned Hayley above, as the host of the We Bee With It Bee. She hosts several different groups and does an amazing job! I think she has filled all the spots for the next 6 months, but if you are interested in joining a bee sometime in 2015, keep an eye out for her sign ups.
I'm not sure when I started following Hayley, but it has been quite a while. I love hearing about her quilting adventures, but also her gardening ones too. I don't know how she does all she does with a little one in the house. She also hosted her own blog hop a while ago with loads of tips and tricks, well worth the browse
HERE.
Like many of us, Hayley was hooked after taking her first quilting class (2009), and she is enjoying her journey ever since. I hope you will pop over there sometime this week and especially on Monday, January 5th, when she posts her own Around the World Blog Hop post.
Next up is
Katie of Karma Willow Designs.
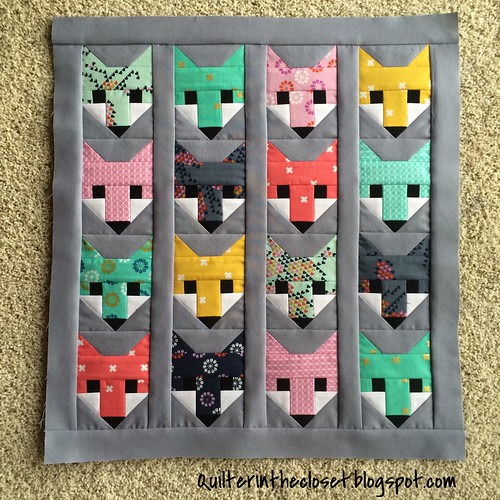
I met Katie when she sent me this lovely mini in a swap last January.
She was also so nice to send a few goodies for my kids and a whole bunch of charm squares that I needed to complete my flag quilt in the header.
Katie really enjoys participating in things! I met her in a swap and she is signed up for a handful more this coming year. She is also a new member in my We Bee With It Bee, AND doing several of the sew along and quilt along groups on Instagram. I hope she tells us a little more about them in her post on Monday.
Also, if you like adorable kitty photos, you might want to follow her on Instagram too @karmawillow.
That's it for now. I hope you will pop back tomorrow here for another installment of Building Blocks Tuesday, my weekly linky party for you to show off which blocks you've been working on. And I hope you will check out the posts from Hayley and Katie next Monday, if not earlier.
Thanks for reading,
Jen
Quilter in the Closet