Today I thought I would share a little about how I "Stitch in the Ditch" or "SID" for short. If Free-Motion quilting is a bit scary to you and simply tying a quilt is not up your alley, SID might be for you.
Warning! Extremely long and picture heavy tutorial ahead.
When I took my first basic quilting class, I was extremely disappointed that it did not cover how to do the actual quilting of my quilt top. The look on my face must have been one of complete shock. 6 weeks, a couple of hundred dollars, and I didn't have a finished quilt. Are you kidding me? Whew, deep breaths....
I ran into a similar problem last year with the Beginner Quilt Along, the finishing instructions weren't posted in a timely manner (if at all). At that point in my quilting journey I knew how to finish a quilt, but I still don't understand how anyone could just leave a beginner hanging there, so to speak. It is a complete turn off.
So, I want to tackle some of the finishing aspects of quilting first in this series of tutorials. I realize I am jumping around a bit even in the finishing category, but I hope that in a few months when I start posting tutorials about projects, I will already have tutorials posted on how to "finish" your quilt. That way, if you are a beginner, you won't be left wondering.
Let's get started!
When you have your quilt top, batting and backing all basted together (yes, my next tutorial will likely be about basting), it's time to secure it with some quilting. "Stitching in the Ditch" is only one way you could do it, but it is a good one to learn as it will come in handy when you learn some other methods.
SID isn't rocket science, but it does take some practice. The basic idea is that you will be using your walking foot and quilting a line of stitches directly into each seam line.
Do you absolutely need a walking foot?
It depends on your machine and your quilt. The purpose of a walking foot is to evenly feed both the top layers and bottom layers of your quilt together at the same speed. When you are piecing, two layers of fabric isn't usually very bulky so your feed dogs and regular foot don't have much trouble. When you have a backing, one or more layers of batting, and then a quilt top sandwiched together, there is more for your machine to deal with. If you already have a walking foot, I highly recommend using it as it will likely save you some headaches, but I have seen some videos out there where the quilter just uses a regular foot. I can only guess that their machine must have some really strong feed dogs, and their feet must have a bit more clearance to accommodate for the extra bulk of all the layers -- BUT that would be pure speculation on my part. I think if I were to use a really thin batting, my machine could probably do it with a regular foot too, but I would have to use more of my muscles to feed it through. I like to SID with a walking foot.
What kind of thread should I use?
First, pick a color that will blend in with your quilt, if possible. Multi-colored quilts make this tough sometimes, but do your best.
I like to SID with
Superior Threads "Bottom line" thread. It is a polyester thread, and pretty thin, so it melts into those seams nicely. If I don't have any Bottom line in the color I want, I just use whatever thread I have that goes. Sometimes I even mix it up and use Bottom line in the bobbin, and whatever I want in the top. Crazy!
Where do I start?
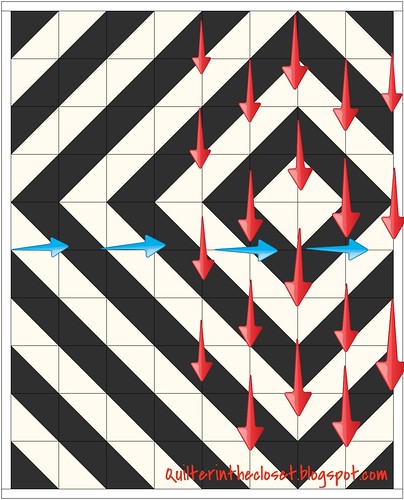
I like to start by securing my middle seams.
I first stitch down my long vertical middle seam (the red arrows). Then, I turn my quilt 90 degrees and stitch down what would be the horizontal middle seam (the blue arrows).
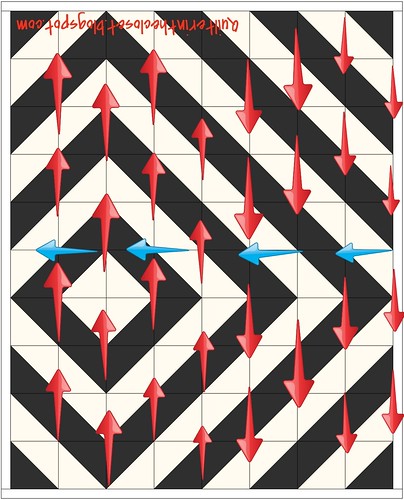
Then I return to my vertical seams and quilt each seam to the right of the middle one in the same direction, cutting my threads at the bottom of each seam, then going back to the top of the quilt to start on the next seam to the right until all the vertical seams to the right of the middle one are quilted.
Next, I turn the quilt 180 degrees and quilt the seams on the other side of the middle vertical seam, all in the same direction, just as I did the other vertical seams.
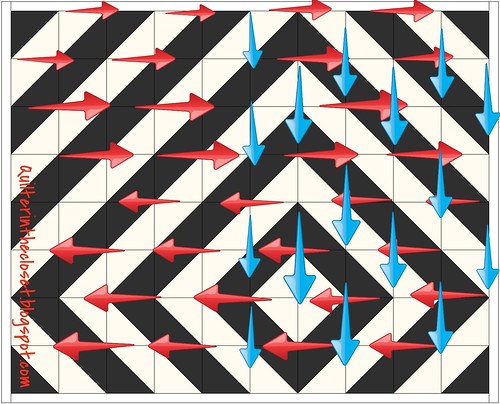
Now I need to secure those horizontal seams. I turn the quilt to work on the horizontal seams and in the same way I did the vertical seams, I quilt all the seams to the right of the middle horizontal seam.
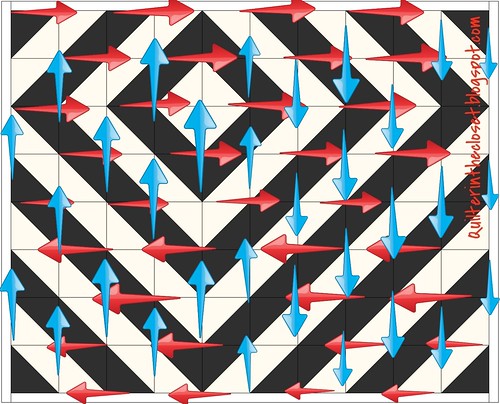
Then I turn my quilt 180 degrees again, and quilt all the seams on the other side of the middle horizontal seam.
Yes, yes, Jen, but HOW do I actually DO it?
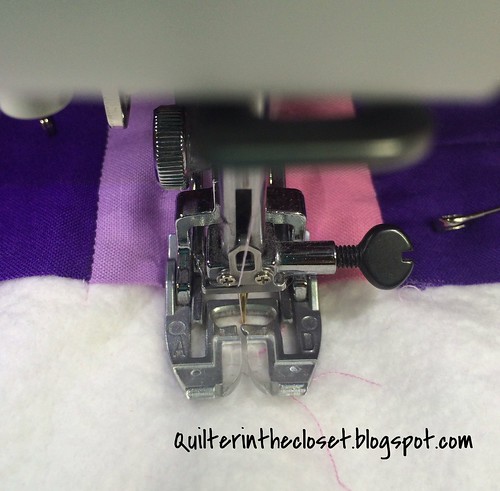
If your seams go all the way to the edge (meaning there is not a long border around the edge of the quilt), then your job just got easier! Start quilting in the batting about 1/2 inch from the edge of your quilt.
As long as you give yourself about a 1/2 inch, you can just start quilting. You don't need to backstitch at all or bring your bottom thread to the top. That 1/2 inch will give you enough room on the off chance your bobbin thread makes a little knot or skips a stitch or two before getting going. This part of the batting will be trimmed off later anyway. Ironically, my machine never has trouble just starting off in the batting. If I were to just start stitching somewhere in the quilt without bringing my bobbin thread to the top, I would have a mess under the quilt. Go figure.
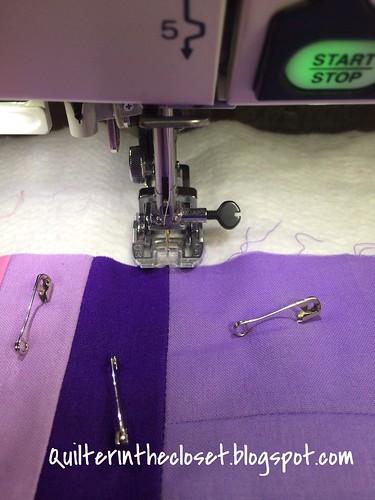
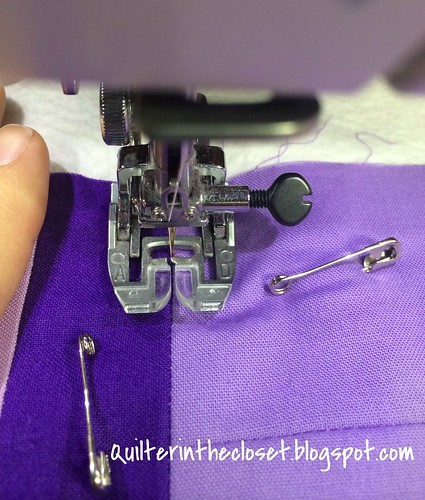
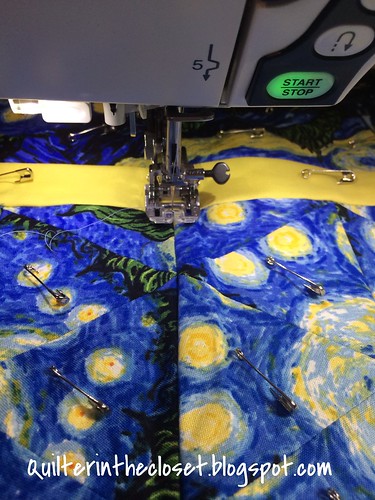
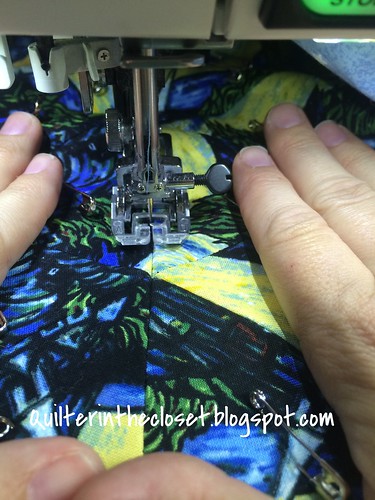
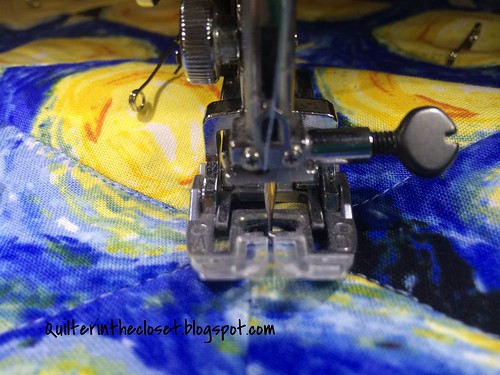
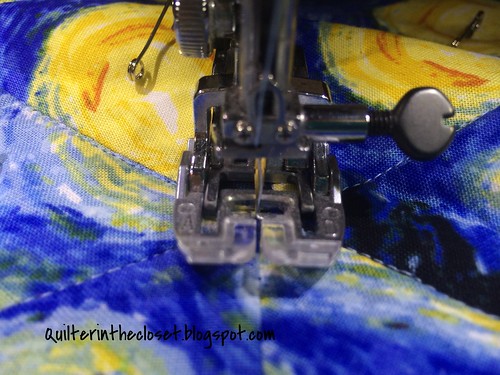
Carefully, and SLOWLY stitch a line of quilting directly in the seam. I like to focus my eyes on the seam itself not the edge of my foot or the needle going up in down, but instead where I want the needle to enter into the fabric. I also use my hands to gently spread apart the seam a little.
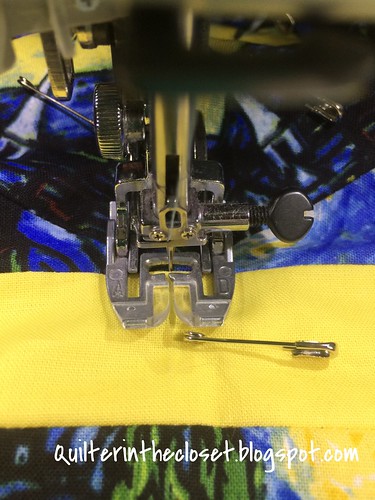
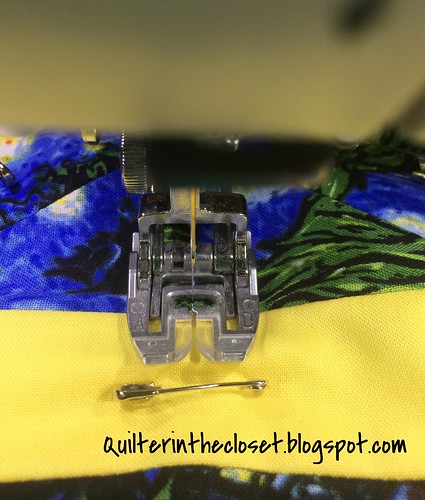
**A quick note about my pins - I remove my safety pins as I go along, but I don't like to get too far ahead of myself. I only remove any pins that will be in the way of my walking foot up to about 6 inches ahead of where I am stitching.
**It is OK to stop and reposition your hands as you go. When I first started quilting I thought you had to go fast and keep going. I've since learned to slow down and that if I STOP to reposition things, I have fewer crooked spots.
Now stitch all the way to the end of the seam and about 1/2 inch into the batting. Cut your threads and move on to the next seam.
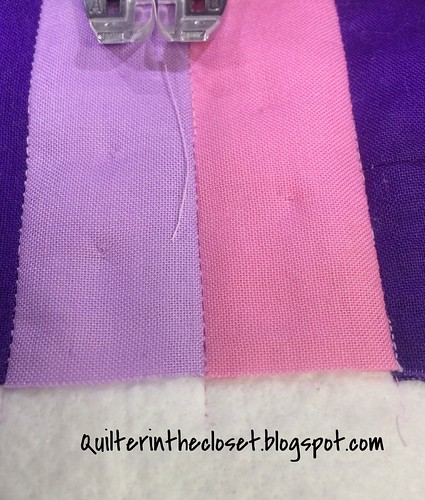
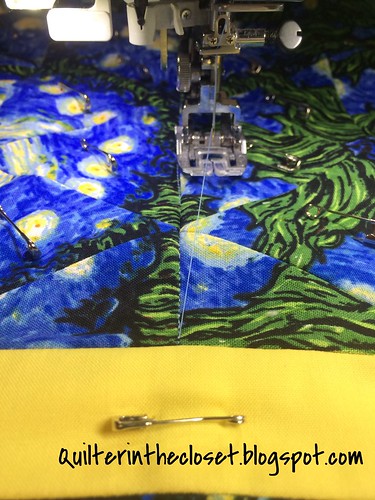
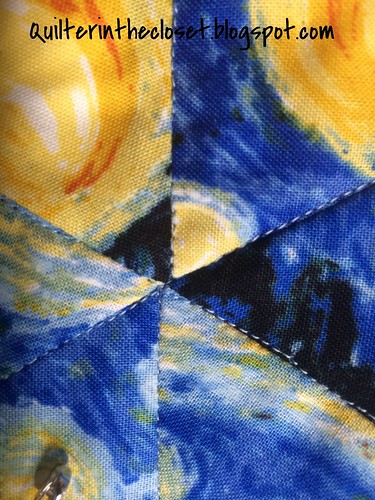
If all has gone well, your stitches will melt right into your seam.
Now, I will admit, no one likes to peddle to the metal as much as I do! However, even I have learned to slow down a bit when stitching in the ditch. Even then, I still wiggle from time to time. DON'T despair if you've wiggled a bit! And don't rip out your stitches! If you are using a cotton or cotton blend batting, those wiggles will barely show once you've washed and dried your quilt.
Um, Jen? What if my seams don't go all the way to the edge of my quilt? I have a border.
No problem. I put in a little extra work, but it is easy.
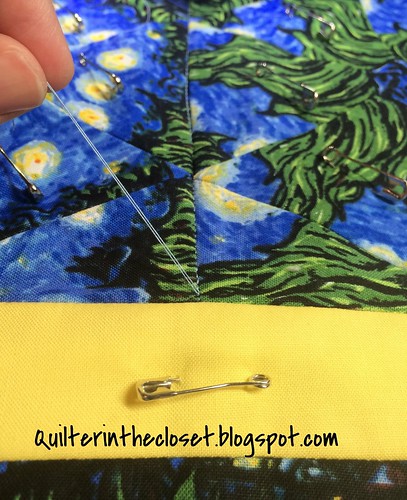
First, find your middle seam, and lower your needle, right where the seam meets the border.
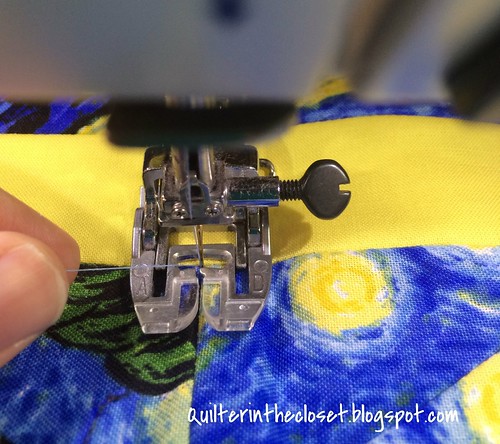
Hold on to your top thread, and with your other hand slowly turn you hand wheel/balance wheel, bringing up your needle and the bobbin thread with it.
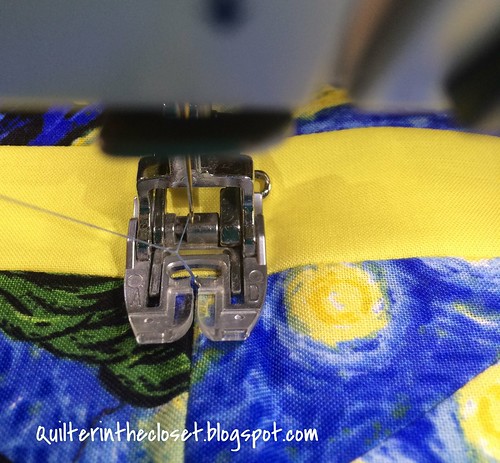
Pull your bobbin thread completely up to the top of your quilt.
Now put your needle down, back in the spot where your seam meets your border.
Start sewing! I like to take a few stitches, backstitch, then go on from there. I also get a few inches away from my starting point and go back and tie a knot in the threads that I just brought to the top of the quilt. I will bury them later, but if I tie my knot now, I know it is done.
Tying knots, burying threads AND backstitching is a little overkill. But, I make my quilts to be heavily used. I don't want my stitching to come apart with frequent washing. By doing both the knots and backstitching, I can be more assured these stitches will stay in place, and it only takes a couple of extra seconds.
As I mentioned before, I use my hands to gently spread apart the seam the slightest bit to help my needle really get in there.
I stitch right to the end of my seam where it meets the border. I backstitch a couple of stitches and come right back to that spot again.
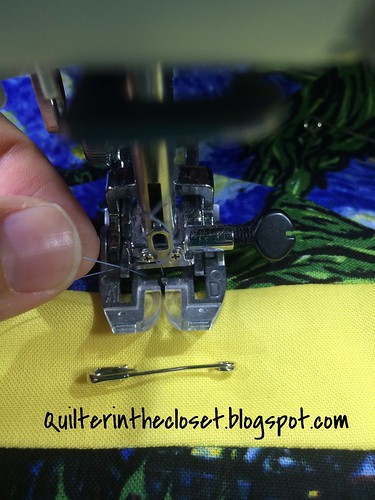
I lift my needle up, presser foot up, and
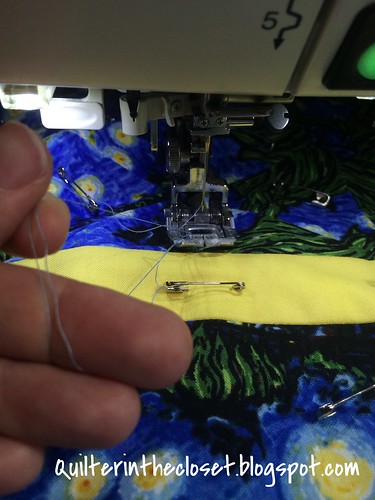
pull the quilt towards me about 6 to 8 inches, exposing about 6 to 8 inches of my top thread (the same is happening with my bobbin thread).
Then I go back to the spot I stopped my stitching, put my needle down while holding onto the top thread.
I use my hand wheel to put the needle up, bringing up that bobbin thread (just like I did to start my stitching)
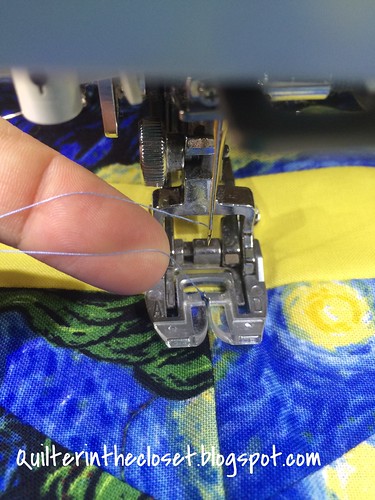
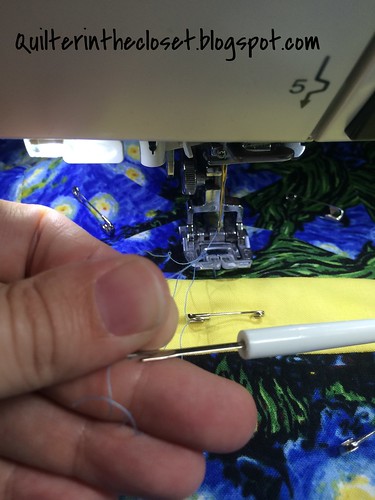
I pull out some of my bobbin thread (remember it is still attached to your bobbin so don't pull thinking you will get to the end of it). I like to make a little loop by holding both threads with my fingers.
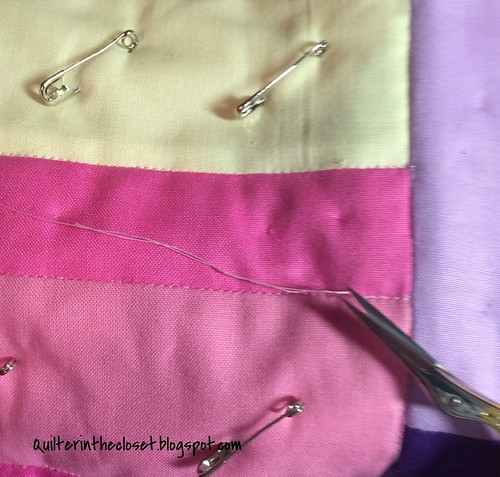
Then I use my seam ripper or scissors to cut both threads.
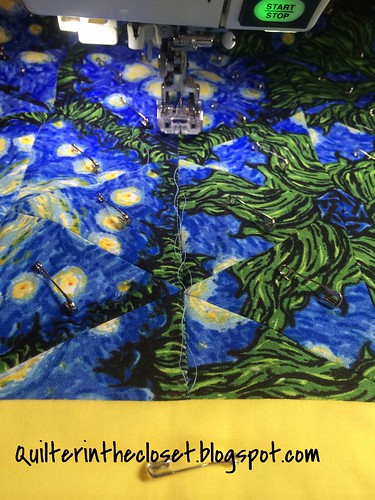
I push the quilt away from me again. The bobbin thread that is still attached to the bobbin pulls back through the quilt, leaving only the threads that ended my stitching.
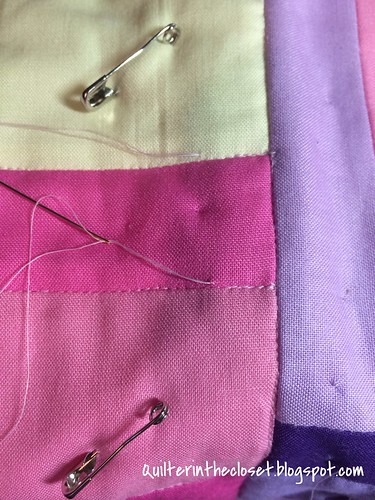
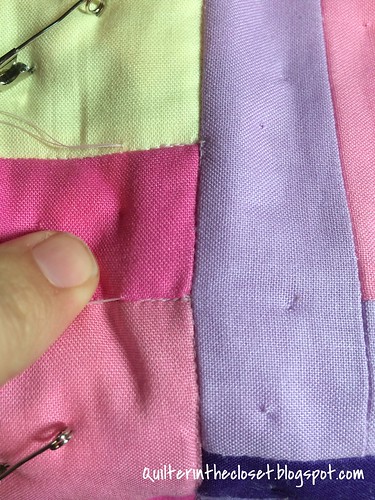
I usually take this opportunity to tie a knot in these threads so I know it is done. Then I move on to my next seam.
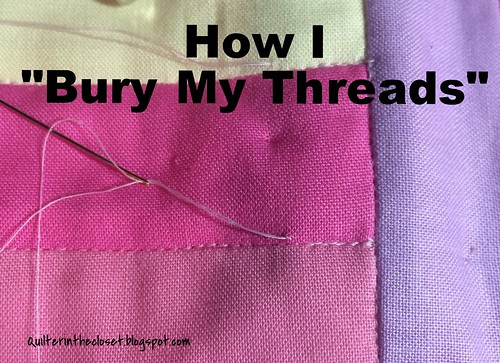
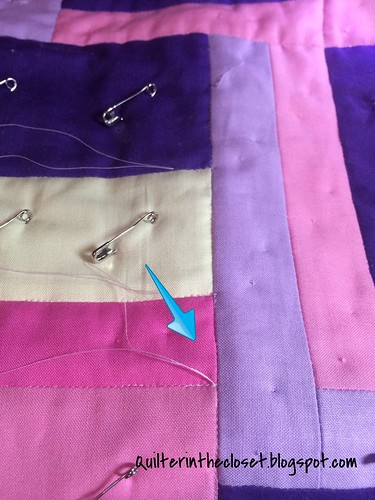
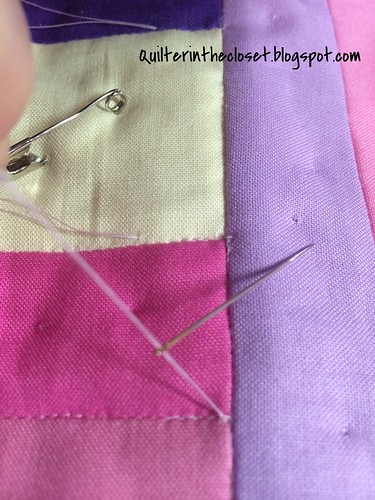
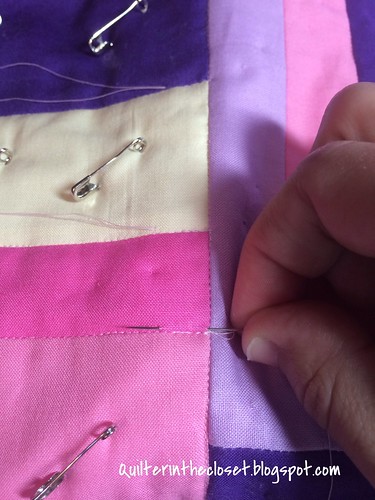
**I will post a quick mini-tutorial by the end of the week how to bury those threads
What if my seams aren't all completely straight?
We all piece perfectly right? All our seams line up like this, right?
Well, yours might, but mine definitely don't!
You can certainly just stitch down this seam, then swerve over and continue on, OR....
Stitch down until you meet the intersecting seam. Simultaneously, raise your foot (so easy if you have a knee lift), move your quilt slightly, and use your hand wheel to take a stitch horizontally down that intersecting seam. Depending how far off your seam is, this might only take one stitch or three. Try to make stitches consistent with the size your machine stitches. Once you are at the point where your needle is lined up with the rest of your seam, continue stitching as normal (make sure your presser foot is down).
The stitches you made on the top will now looks something like this:
Yes, you will be able to see that little detour from the back, but really, who is looking that closely? Plus once I wash it, the quilt is going to be a little wrinkly looking anyway, it will blend right in.
Speaking of, what is my quilt going to look like with just SID?
Well, it is going to look just like you pieced it. You will see the SID stitches on the back, but SID is meant to blend in with the seams that are already there on your top. So, if you have a quilt top that you just can't imagine quilting lines over, SID would be a good choice.
I am often stumped how to quilt my quilts. So, I start with the SID. Usually, by the time I am finished, I've been looking at the quilt long enough to have some ideas.
Do you advocate SID on every quilt regardless of any other quilting designs might be planned?
I honestly never thought about it until I took
Cindy Needham's classes. She recommends stitching in the ditch for "Every Stinking Seam". Her reasoning is that SID secures your seams in place where they are supposed to be, meaning that your seams will stay in place exactly where you pieced them to be. The quilting process tends to shift things around a little bit, but if you secure your seams in place first, your piecing will look crisper. If you just start quilting, say an all over design, your quilting lines will shift some of your seams in the direction you are stitching, making what should be straight seam lines, curvy. In the end your piecing looks flawed.
Despite her class samples, I really didn't want to believe it. At the time, I tried SID on a few quilts, but it took me a while to really discover that Cindy was right. I think this was in part because I was maybe a little too accepting of the fact that my piecing is never perfect. I just figured that's the way it is and worried SID would actually show off my missed points, etc. I didn't know that SID would actually make it look better than it really was because it accentuates the straight lines.
For example......
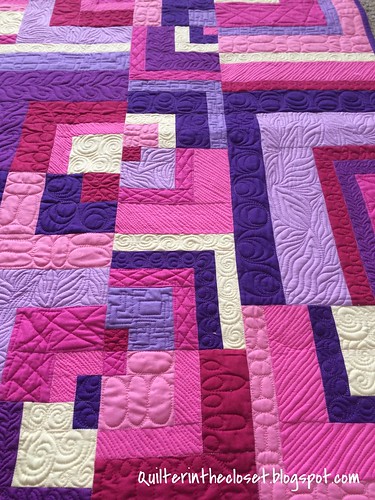
This quilt is not pieced perfectly, but my square edges look sharper because of SID. If I had not SID'd, and chose to quilt this quilt as heavily as I did, WITH different quilting designs, the edges of some of my squares would have rounded out - simply from the differing amounts of the fabric shifting from design to design.
I now SID all my quilts. Yep, every one, Nicky!
That's all I have for today. As I mentioned, I will post a mini-tutorial later this week on how to bury those pesky threads.
How do you do it? Link up your tutorials here (on this or any other quilting subject).
Rules:
1) NO QUILT POLICE ALLOWED! - if you are making a tutorial, keep it friendly, as if you were teaching your best friend. If you are visiting a tutorial, please remember that the authors are simply sharing what they have found to work for them.
2) Please link up tutorial from 2014 only. Feel free to point out any previous tutorial in your new post, but let's try to keep the links current.
3) Visit other linky participants to see how they do it.
4) Did I mention no quilt police allowed?
Thanks for joining me today!
Jen

 (Amazon link). It is easy to pop both threads into the end; you don't have to thread both threads through the eye.








 ", then you know her work. I actually did alright with the needleturn heart we worked on. I had a few spots that weren't as curvy as they should have been, but as with most things, my skills would improve if only I practiced more.
