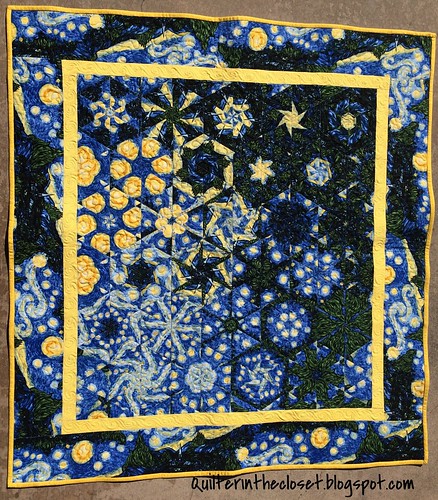
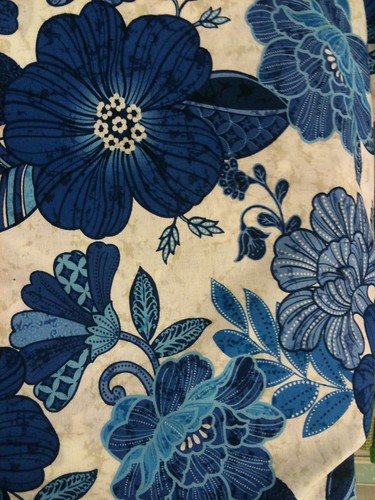
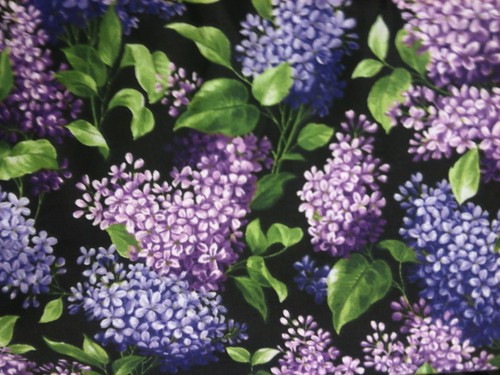
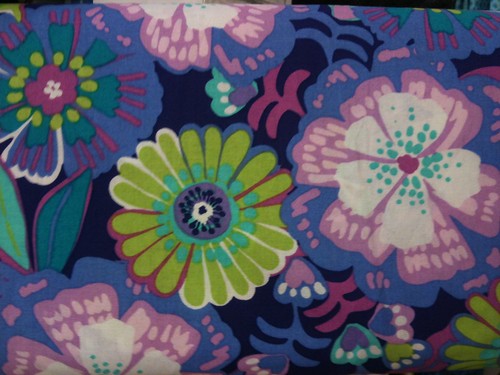
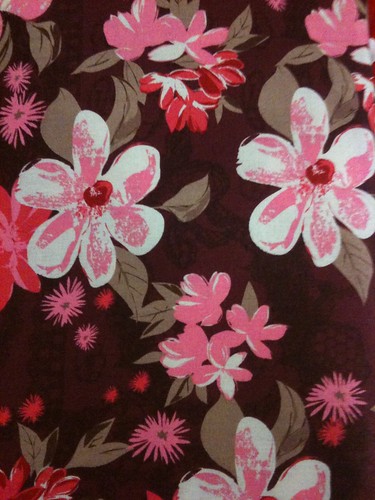
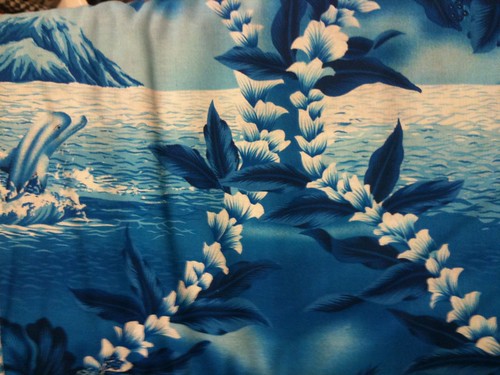
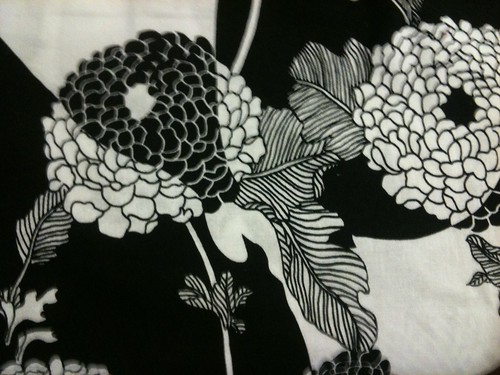
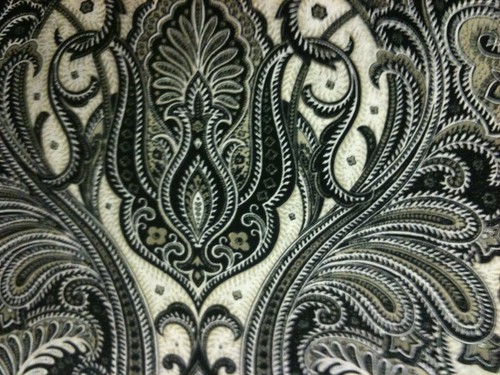
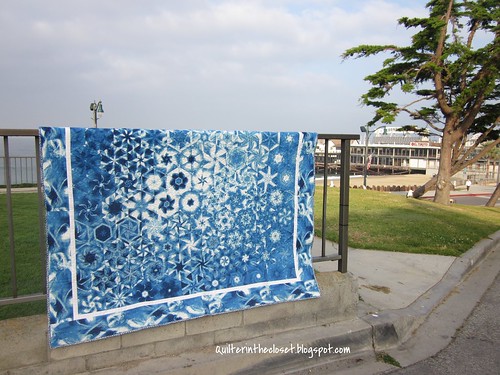
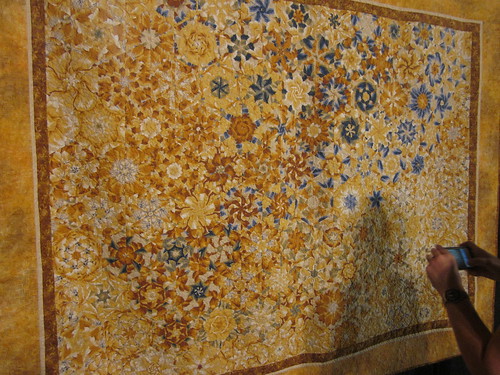
I hope you are all having fun trying to decide which fabrics you are going to use for the QAL. There are so many choices, right?
Now for some cutting and piecing tips for the OBW QAL
I meant for this to be a short post, because the books do a great job of telling you how to layer and cut the fabric; but, I ended up having more to say than I thought!
There are several things I want to mention:
- Use a FRESH blade
- Cut 30 degree triangles
- Diversity of triangles
- Bias edges
- press all seams OPEN
- Grouping and layout
- Pin
Use a Fresh Blade
This one is pretty straight forward. You have 6 layers of fabric to cut through and a fresh blade is going to make a huge difference. I switched my blade a few weeks ago and thought that would be fresh enough - it wasn't! I had at least one strip with "furry" edges. Trust me. Use a
new blade.
If you are like me and think your current blade still has some life in it, just put it aside and when your new blade is tired, put that one back in for a different project. (I do not mean to say that your fresh blade will be all tired out after this project. Unless, of course, you are making a really large quilt.)
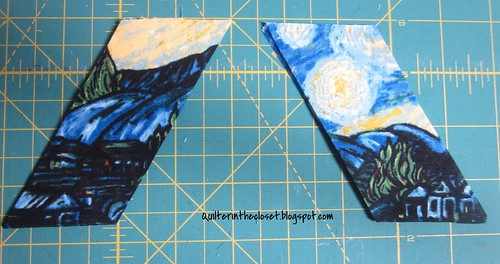
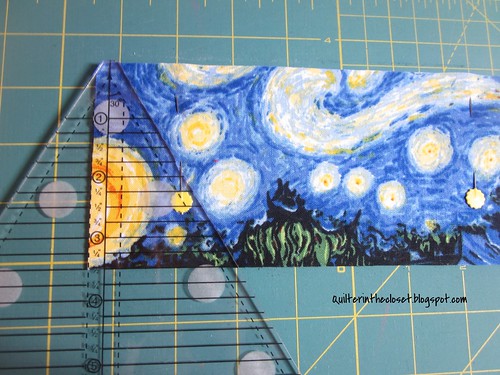
Cut 30 degree triangles
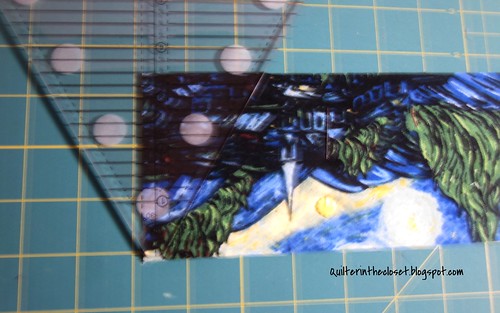
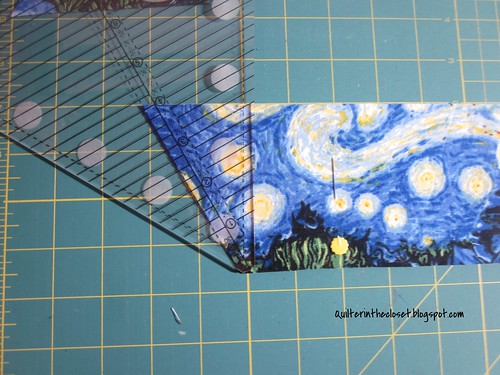
My copy of the book doesn't mention this, but I like to start cutting each strip by cutting a 30 degree triangle first. You can check out this little tutorial on cutting 30 degree triangles
HERE, if you choose, but the picture below is pretty explanatory.
 |
| Take your pins out, of course, before making a cut |
In a way, your first cut is going to mimic this cut anyway, so why not pay attention a little and get a 30 degree triangle that will be the right size to fit your blocks. Having something useful is always better than waste, right?
Please make sure you switch sides. If you cut your first strip with the 30 degree triangle positioned like the one above, then make sure your next strip you position the ruler facing the opposite way.
It does make a difference! You will need 30 degree triangles going in both directions to finish off the edges of your quilt. What am I talking about?
2 of the edges of your quilt will be straight lines thanks to the straight line piecing outlined in the pattern. But, the other 2 edges of the quilt will be partial hexagons. My book suggests just cutting off these points, but if you have 30 degree triangles, you can add them to these ends to fill out the edges to a straight line.
How many 30 degree triangles do you need? Hard to say as it depends on how big your quilt will be, right? Plus each cut will give you six IDENTICAL 30 degree triangles. Having them all be the same will likely not fit your needs unless your quilt is essentially the same color throughout.
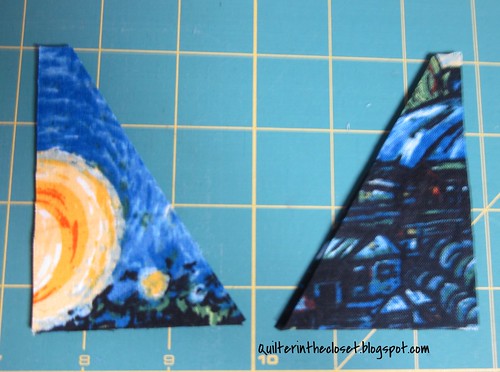
Diversity of Triangles
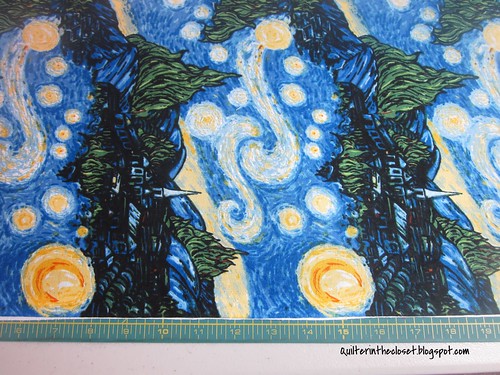
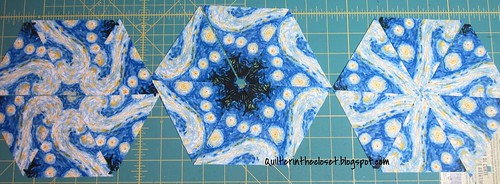
We already talked a little in the fabric selection post about repeats. When buying your fabric you want to make sure to get at least 6 of the horizontal repeats.
It is likely that your fabric also has a vertical repeat. See how many suns I have? Each of my strips is going to have about 2 of the same design elements. Given that, I want to make sure that I don't end up with the same exact triangles.
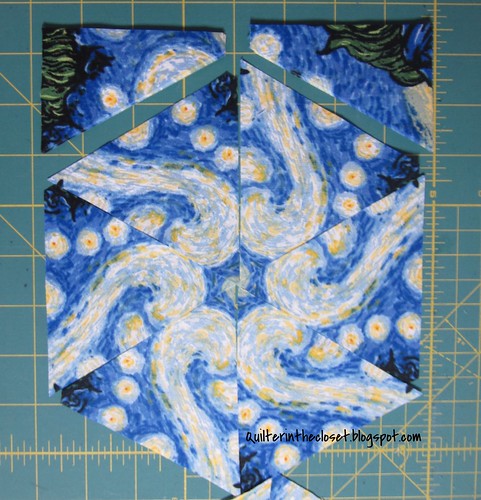
 |
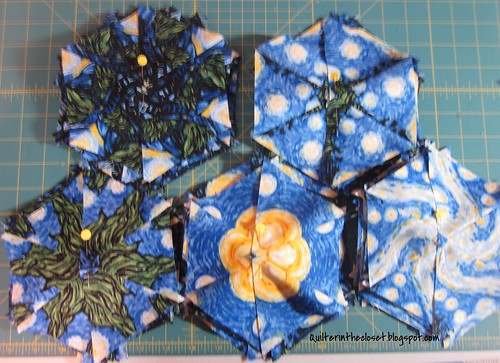
| You might notice is this pic, that I like to use a lot more pins along the cut edges of my stack than the book recommends |
While cutting the triangles down your strip, there are a couple of things you can do to make sure that once you hit this vertical repeat that you aren't cutting identical triangles.
It might be that it works out that one triangle will be facing the opposite way. Hooray, this is easy and you don't have to do anything.
You can also choose to cut a couple of 30 degree triangles somewhere in the middle of your strip. The extra bit of fabric taken from including the seam allowances of the 30 degree triangles will move you just a little further along the repeat so you won't have identical triangles, and you are still getting something useful out of the cuts.
Or you can just slide your ruler along an inch or so and resume cutting triangles. Again, this moves you along the vertical repeat, shifting it enough so that your triangles won't end up the same.
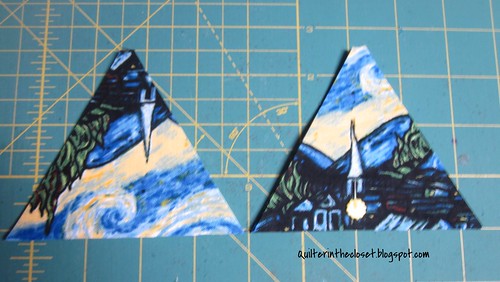
What happens if you end up with a bunch of triangles that are pretty much the same anyway?
You can orient your hexagons differently, meaning that you choose a different corner of your triangle to be the center. This often gives you hexagons that have a completely different look - a different spin if you will.
However, should you choose to do this, you will have to deal with.......
Bias edges
If you piece your half-hexies differently than with the notched end of your triangles in the center. You are effectively moving the bias edges (that you created when cutting the triangles out of the strips) from the interior of your hexagons to the exterior.
What am I talking about and why is this a big deal? I will try to keep it brief....
 |
| pink arrows indicate the straight grains of the fabric |
Because of the way fabric is woven, it has a "straight-grain" going in perpendicular directions, along the selvage and from selvage to selvage. If you look closely at your fabric, you can actually see the little threads going in these directions. There is a slight difference between the two, but it isn't that important to go into right now. The important part is that these straight-grains are less stretchy, and thus more stable if you cut and piece along them. Whenever you cut diagonally to these straight-grains, you are cutting a bias edge, which is much more stretchy.
By piecing your half-hexies with the notched edges of the triangles in the center, all of your bias edges are contained within the hexagons, leaving the straight-grained sides to stabilize your rows when you piece them together. Said another way, all of your super-stretchy sides will be contained within each row when you start piecing your half-hexies together with other half-hexies, meaning your quilt will be more stretchy in only one direction. If you piece your hexies with a different triangle point in the center, you will have bias edges between your rows as well, making it stretchy in every direction of your quilt.
For you "seasoned" quilters out there, this probably won't be a problem. For you beginners, you might want to minimize the effects of the bias edges by piecing your triangles with the straight-grains on the exterior sides of your hexagons.
Press all your seams OPEN
Again, this is pretty straight-forward. Press every stinking seam open. When everything is pieced together you are going to have 6 seams converging in lots of places in your quilt top. Even if you plan on just quilting in the ditch, these seams are going to be bulky in these places. The best way to distribute some of that bulk is to press your seams open.
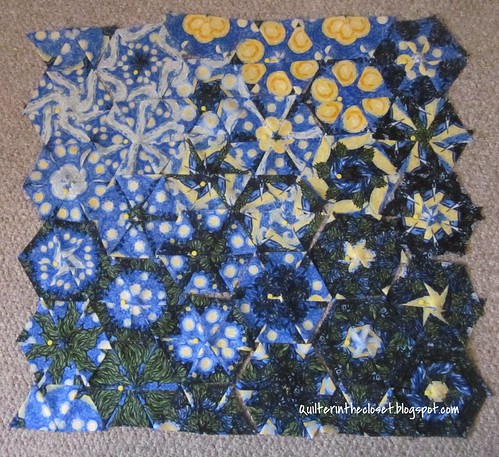
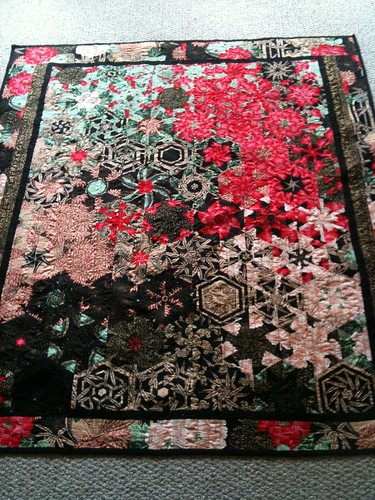
Grouping and Layout
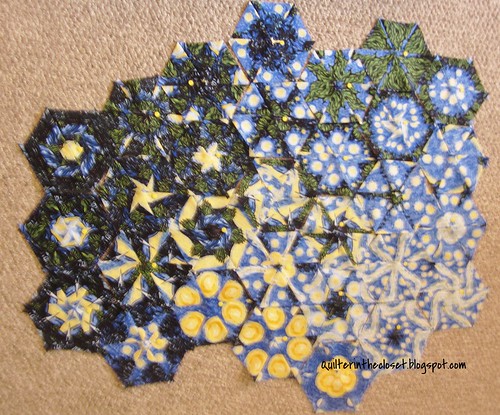
Once I piece and pin all my half hexies together, I like to group them in to "mostly" colored groups.
You can see here, I have a mostly dark group, a mostly green group, a mostly blue group, a mostly light colored group, and a group with a bunch of yellow. No doubt, you will have some hexies that are are tough to place, and these will be good transitional hexies.
Now, on your floor or design wall, layout these hexies in their groups. Use those transitional hexies to move from one color to another. There really isn't any right or wrong here.
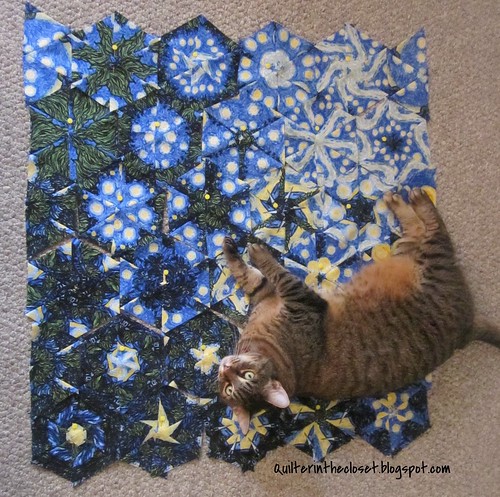
Once you have a rough draft, try to move some hexies around, maybe even splitting up a set (waste not want not) to even out your edges. Now take a picture!
Preferably without a cat lying on most of your quilt.
Study your picture and decide if there is anything you want to move around. If not, use it as a reference to make sure your rows end up in the order you wanted while piecing them.
You can also add in your 30 degree triangles at this point to smooth out those edges.
PIN
When it comes time to start piecing your rows together, I highly recommend that you pin, A LOT. This is especially important if your hexies have any bias on the exteriors. Perfectly matching up all those points is actually less important than containing some of the stretch. Your quilt will be "busy" enough, so minor imperfections in aligning the seams won't be a big deal, but if one of your bias edges stretches too much, it will be noticeable and may even create a bubble or pleat when it comes to the quilting.
That's about it for this post. If you have any additional tips and tricks for the group, leave a comment below or start a thread in the
Flickr group.
Thanks for reading today!
Jen